First, we'll get to know the creation area and start testing. The AI Copilot will give us access to the necessary settings for creating the videos.
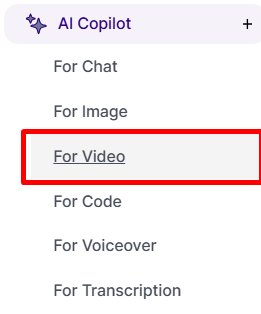
Settings for Video Creation
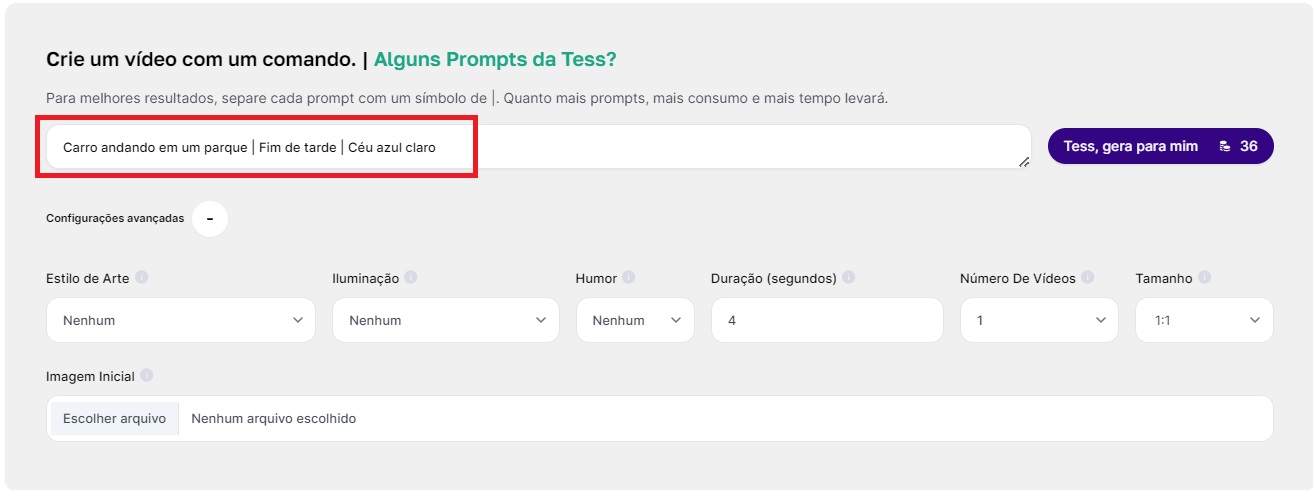
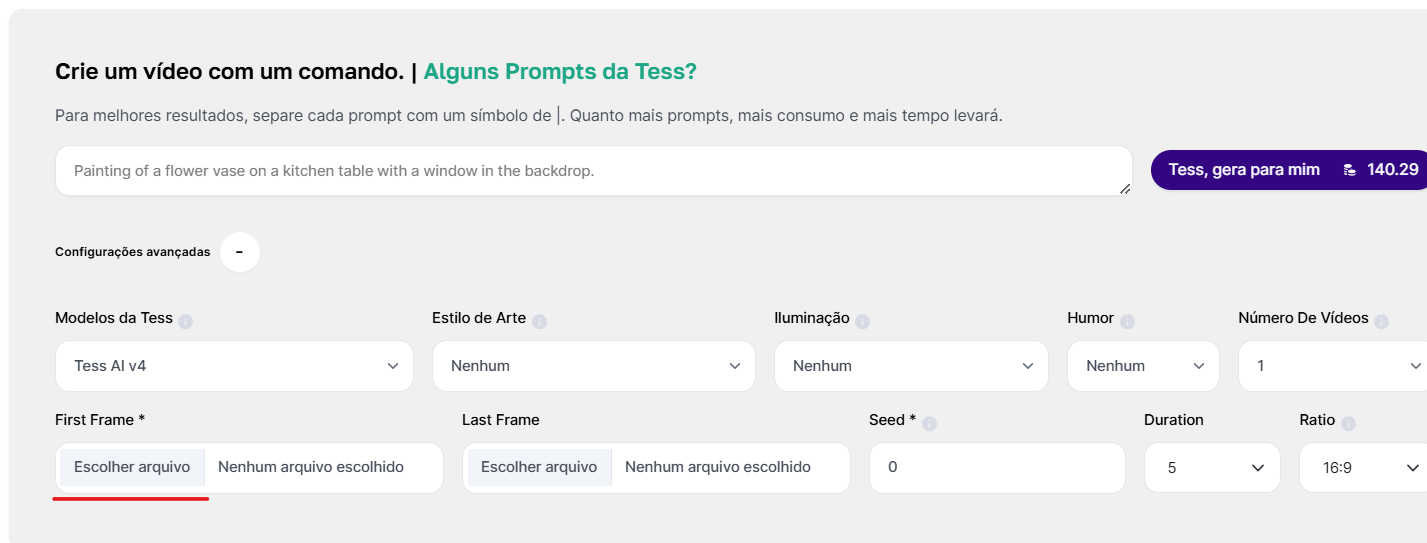
1. Prompt
The most important part of any AI creation is crafting a quality Prompt. Aim to be as clear and objective as possible, while also detailing the important and relevant information for the video. It's recommended to separate the information with the symbols "|" or ",".
2. AI Model
Selecting the AI model to be generated is also a very important step in our creation process. Different models have different training and can produce quite varied results. The same applies to credit consumption as well.
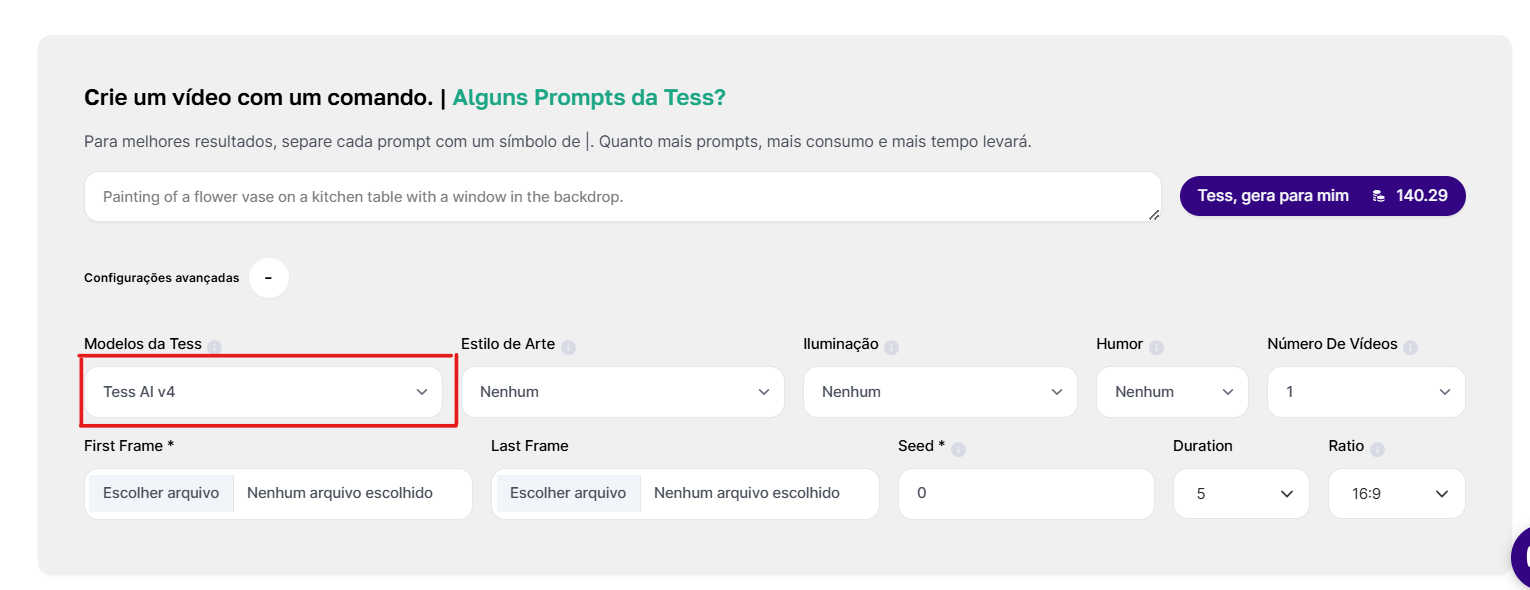
There's no clear definition of which model is better/worse, as their performance can also depend on the prompt used, the inspiration image, and even the amount of seconds. However, we have newer models such as Runway, Luma, Veo 2, Leonardo AI, Minimax, Kling, and many more. By default, when the screen opens, the selected model is Tess AI V4!
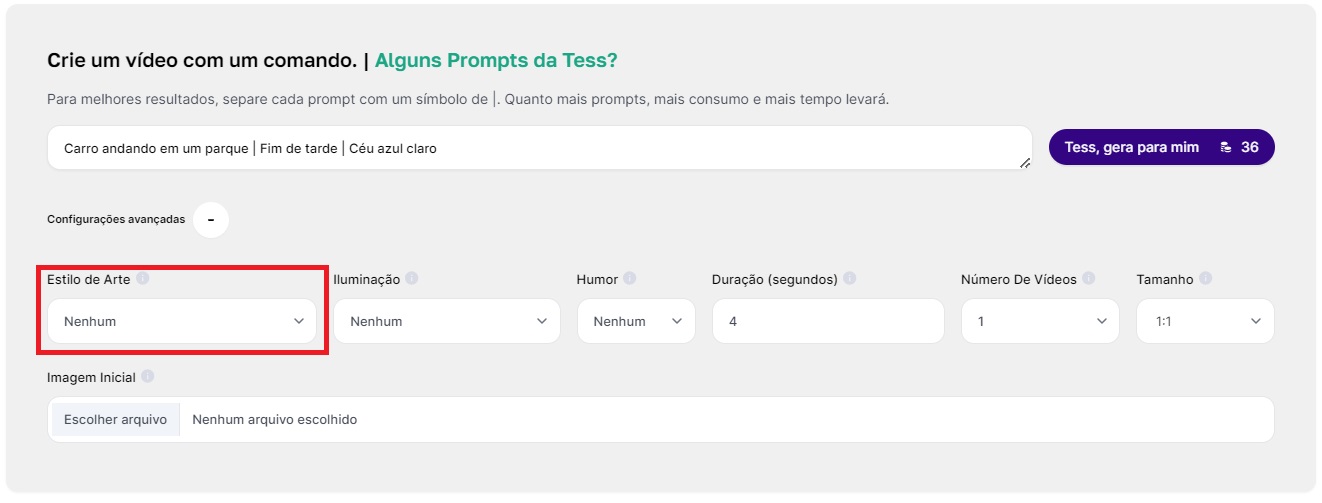
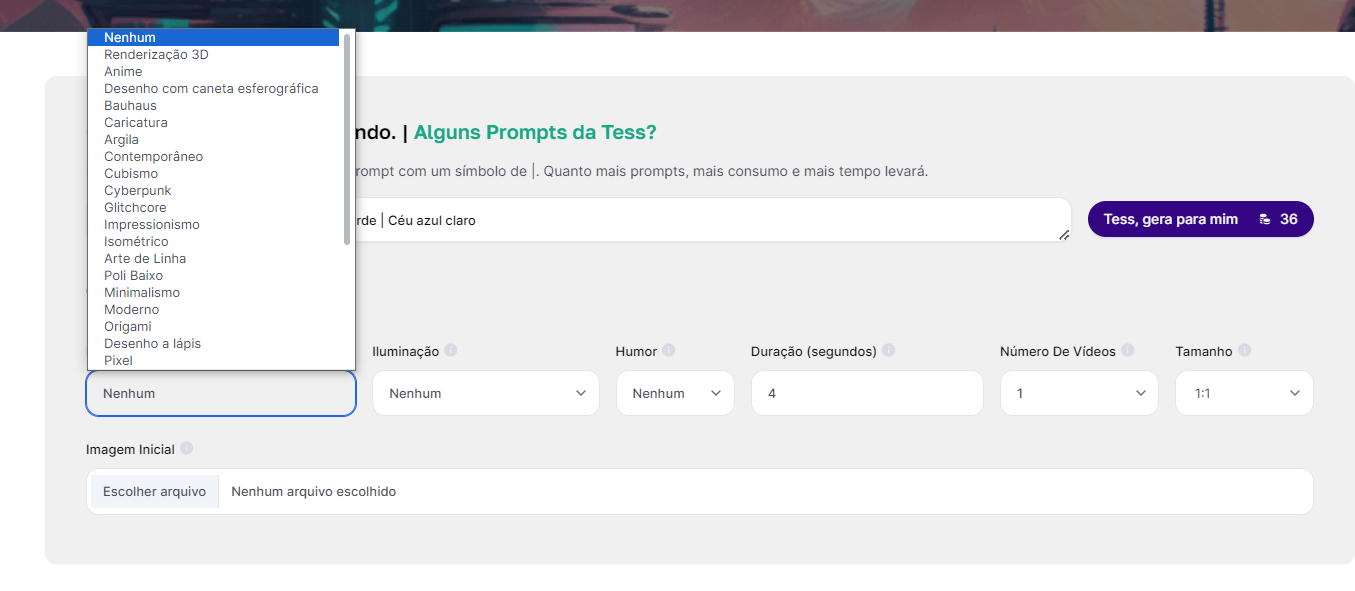
3. Art Style
The Art Style will directly influence your video’s result. Selecting one of the options changes the image style in the same way as your prompt. The AI will base itself on the selected style when generating your video.
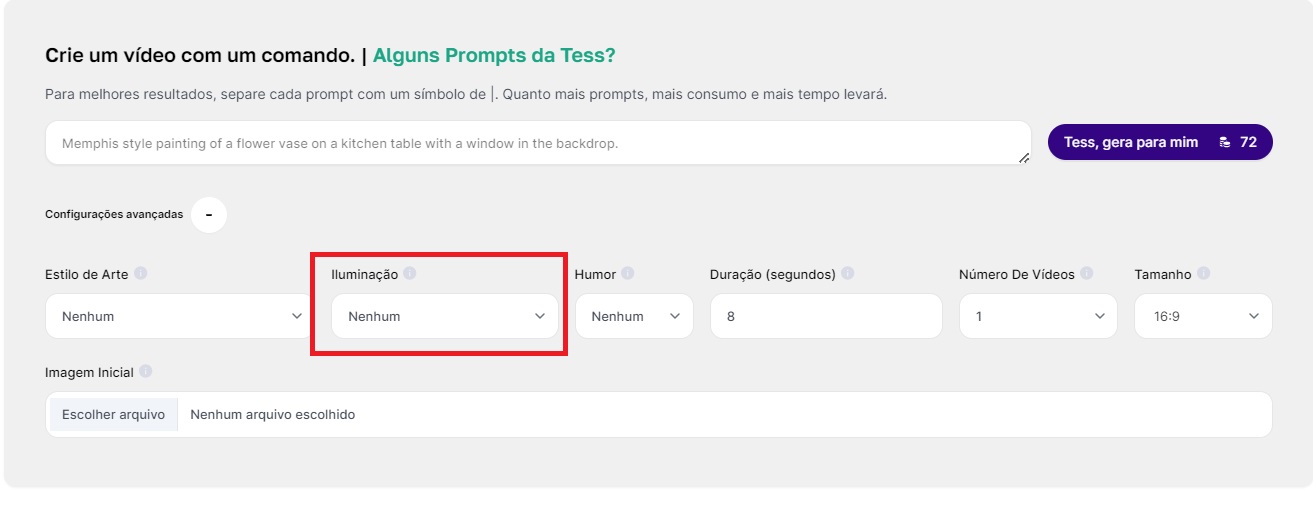
4. Lighting
The lighting options won’t decrease or increase the video quality, but will instead adjust the visual aspects of color and light. Configure them freely according to your preferences.
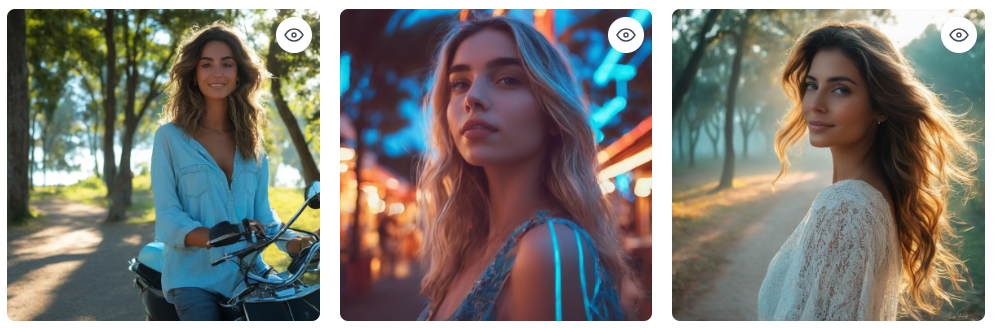
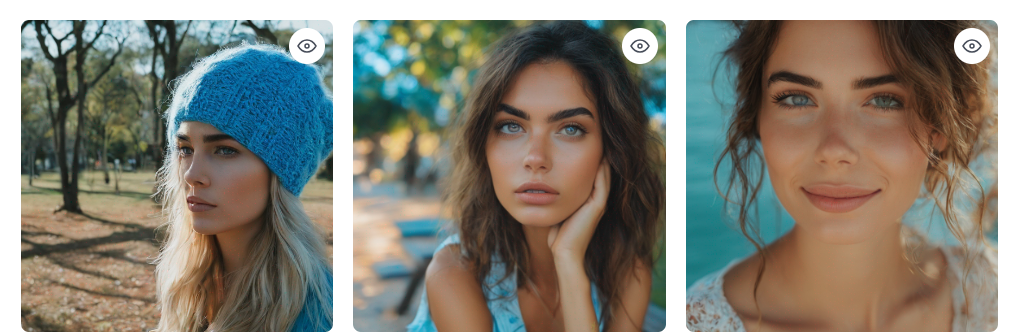
In the example below, we use the same prompt for the image with 3 different lighting styles. The same applies to videos.
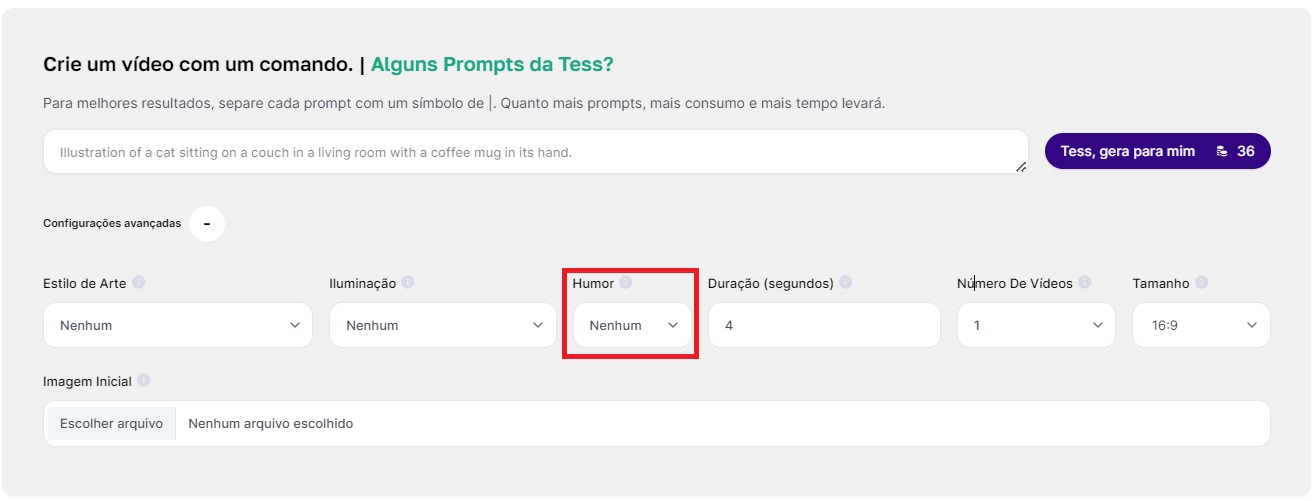
5. Mood
The mood setting will influence not only the colors but also the emotions of the characters and video environments. Choose the options that best match the written prompt.
In the example below, we used different mood configuration options in the same prompt for three images. The difference is noticeable in various aspects.
6. Duration, Size, and Number of Videos
These settings, unlike the others, are not related to Prompts, Lighting, or any other more technical aspects of AI, but to user preferences.
However, some points in these settings can make a difference when creating videos.
Regarding the duration, always try to create your videos with 4 seconds or more. It's common for users to try with a shorter duration and encounter problems or difficulties. Also, keep in mind that credit consumption is directly proportional to the video length.
As for the size, there are no restrictions, as our AI works well with all formats. Initially, AIs are trained in the 1x1 format but are eventually adapted to other sizes.
About the number of videos, it's pretty simple: the user has the option to create different variations of videos with the same prompt but with the same settings. Even though the request is made at once, the generated results will be different.
7. Initial Image
This field will allow you to provide an inspiration image for the first frames. It will be the starting point for the AI. Our intelligence will base itself on the image to create the desired video. Keep in mind that the image should match the same size selected for the video. Otherwise, the image might get cropped.
Note: using the initial image is mandatory for models like Tess AI V3, Tess AI V4, Magic Dream, and Runway, for example. In the case of Luma Labs, it is possible to generate without inserting an inspiration frame.
Alright, now you understand how our Video AI works and can use your creativity to generate amazing videos with Tess AI!
