Being able to turn audio and video into text quickly and accurately is a powerful tool for all kinds of professionals and content creators. Whether you want to document meetings, turn webinars into blog posts, add subtitles to videos, or analyze interviews, transcription saves you time and opens up new ways to use your content.
This article explains the main ways to transcribe your audio or video files using Tess.
The most straightforward way to transcribe in Tess AI is through the specific area in Agent Studio: Transcription Generator. This feature is perfect if you're looking for something simple and fast, without needing to set up complicated prompts.
How to Access and Use:
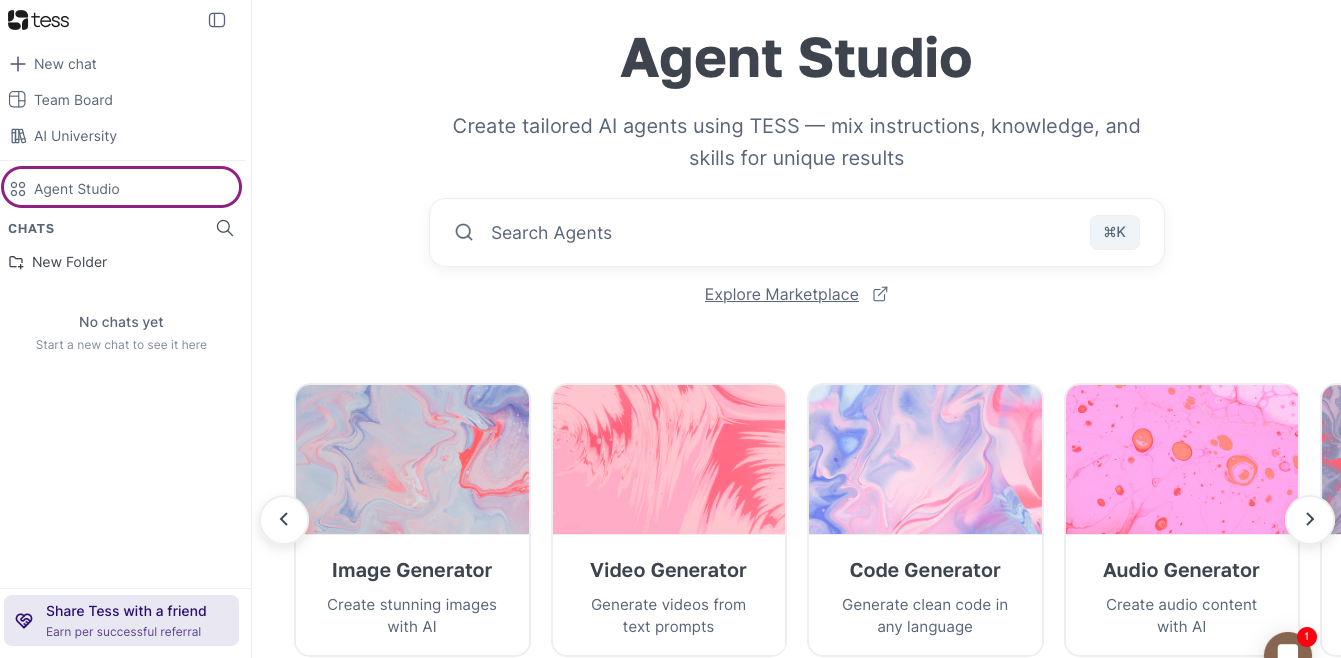
On the left sidebar of the Tess AI platform, go to Agent Studio.
From the list, pick the option: Transcription Generator.
The transcription interface is split into two sides:
Left Side: Area to upload your audio or video file.
Right Side: Where the transcribed text will show up.
Click on "Choose file" on the left section and pick the audio or video file from your computer.
Supported Formats: Tess supports a bunch of formats, like MP3, MP4, MPEG, MPGA, M4A, and more. You can click the info icon (a circled "i") to see the full list.
Size Limit: The file can't be over 200 MB.
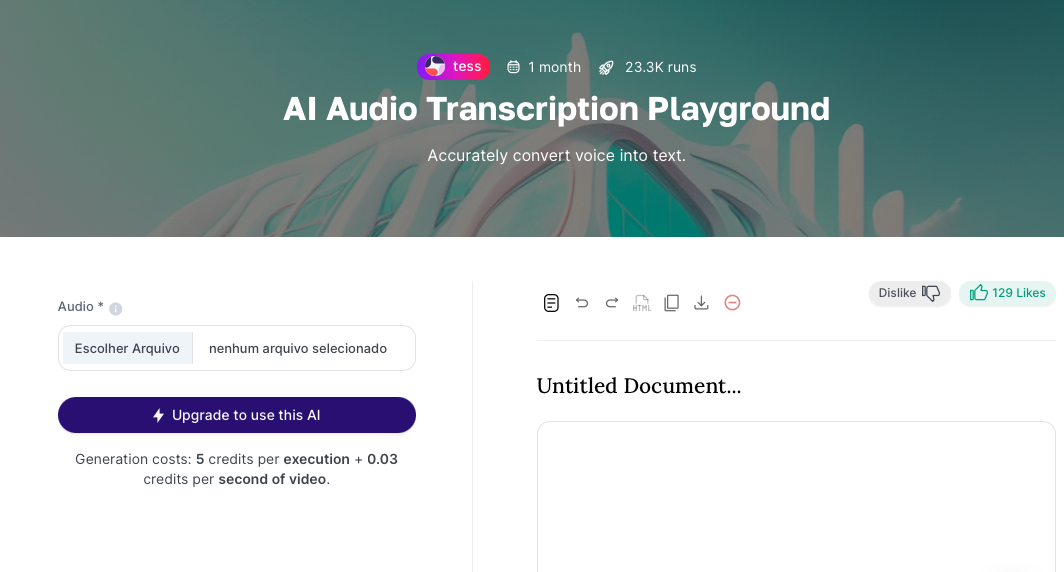
After you've uploaded the file, just hit the "Tess do it for me" button.
Wait for processing. The time will depend on your file size.
The transcribed text will show up on the right section of the screen.
Additional Resources in the Transcription Area:
Editing: You can directly edit the transcribed text, fixing words, adding punctuation, or formatting with bold, italics, and underline.
Cost: Transcription in this area has a fixed cost of 5 credits per action, plus a variable cost of 0.03 credits per second of audio/video. The total generation cost will be shown.
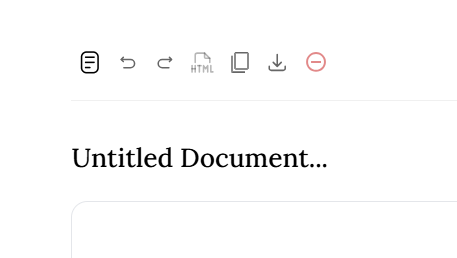
Output Options:
Copy: Copies all the transcribed text to your clipboard.
Download (TXT): Downloads the transcription as a plain text file (.txt).
View in HTML: Lets you see the transcription's HTML code.
Delete: Removes the generated transcription.
Tip: Always check your file's format and size before uploading to make sure it's compatible.
Another flexible way to transcribe files is by using the chat feature together with the Knowledge Base. This method lets you not only transcribe but also interact with the audio content, asking for summaries, analysis, or answers to specific questions based on the file.
How to Access and Use:
Open a new chat or pick an existing one and click the “+” button
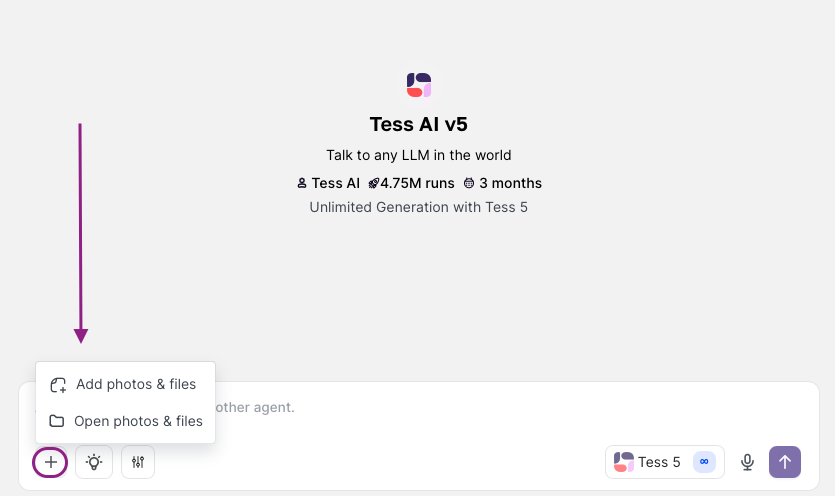
In the window that pops up, you can drag and drop or choose to select the audio from your computer.
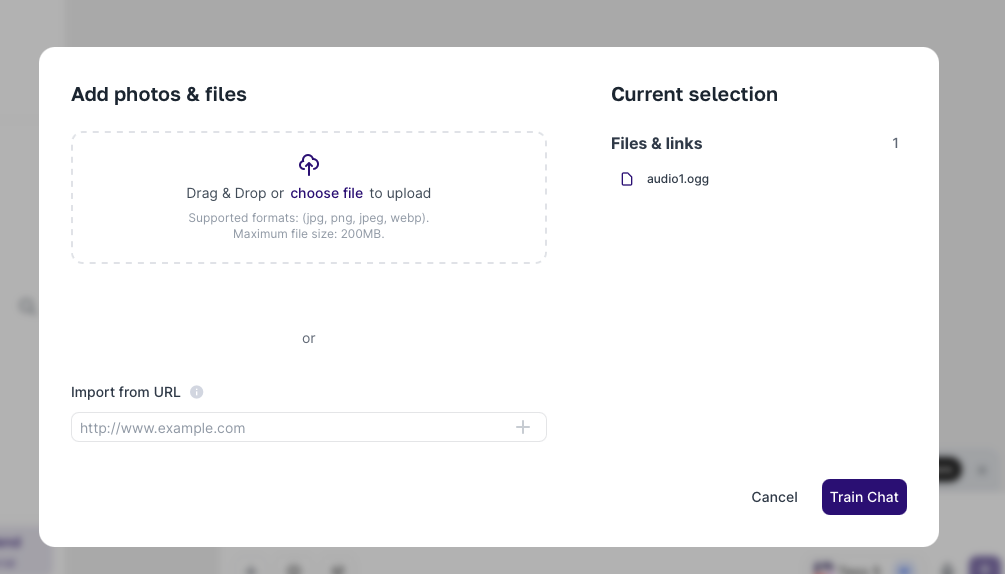
Remember the 200 MB per file limit.
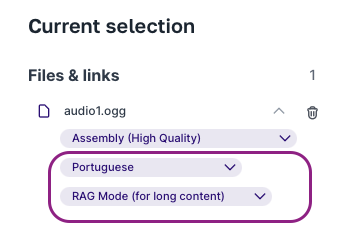
Transcription Settings:
Transcription Model: Choose your desired transcription engine:
Deepgram: Known for its speed.
AssemblyAI: Focused on higher quality.
OpenAI: Offers a good balance between speed and quality.
Rev.ai: Ideal for transcriptions that need timestamping (time marking for each line).
Language: Pick the audio language (e.g., Portuguese).
Context Mode:
RAG: Recommended for larger files. The AI splits the file into parts and only checks what's needed to answer your request.
Deep Learning: Recommended for smaller files. The AI does a full analysis of the content.
Click "Save." The file will be processed and added to your knowledge base for the current chat session.
Now you can interact with the audio. To get the full transcript, type a command like: "Faça a transcrição do arquivo em anexo" or "Transcreva o áudio que enviei".
Besides transcription, you can ask for summaries, key points, etc. Example: "Faça um resumo em tópicos sobre o arquivo anexo".
Tip: This method is awesome when you need more than just the raw text, letting you get a deeper, more interactive analysis of your audio content.
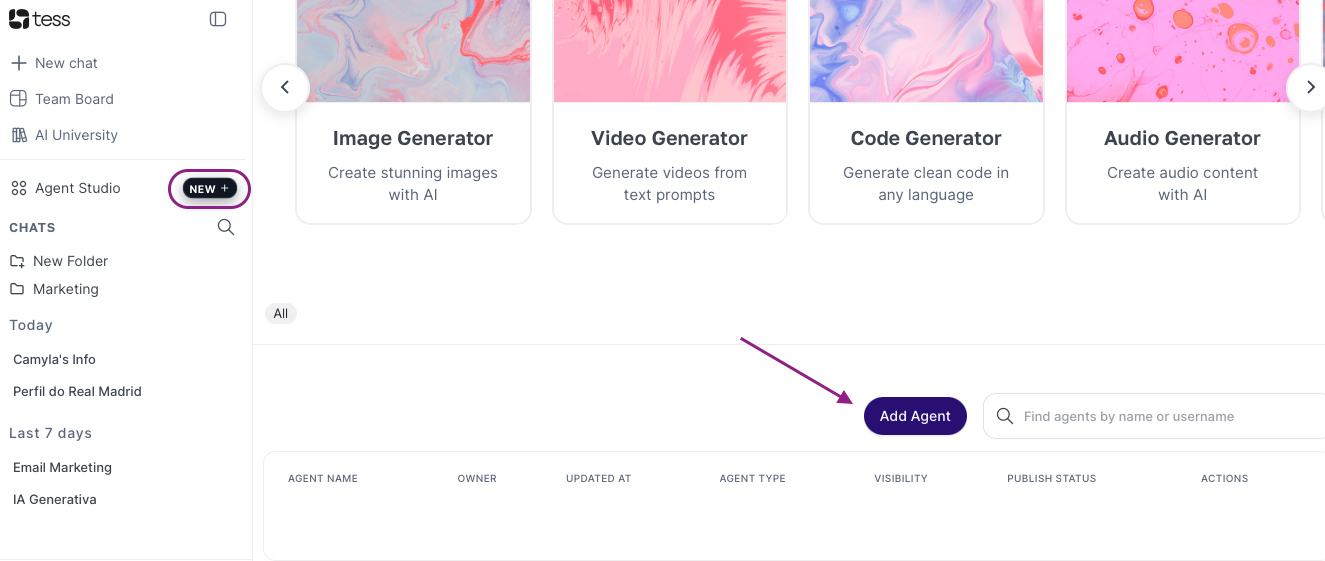
For users who need to integrate transcription into more complex workflows or want to build AIs specialized in analyzing audio content, AI Studio lets you create custom agents. (This feature is available for users on Individual or Business plans).
How to Create a Transcription Agent:
Go to Agent Studio from the side menu and click to add a new agent:
Agent Initial Settings:
AI Application Type: Select "Chat" (or "Text," depending on your end goal).
AI Model: You can pick a specific model (e.g. GPT-4o mini) or leave "All LLM Models" so the end user can choose.
Prompt: Set the persona, goal, and rules for your agent. Here's an example for an agent that analyzes lessons:
Persona: You are a specialist in pedagogy and educational content analysis.
Goal: Your job is to transcribe the given class and then provide a summary of the main topics and three suggestions to improve the presentation.
Rules: Be clear, concise, and give constructive feedback.
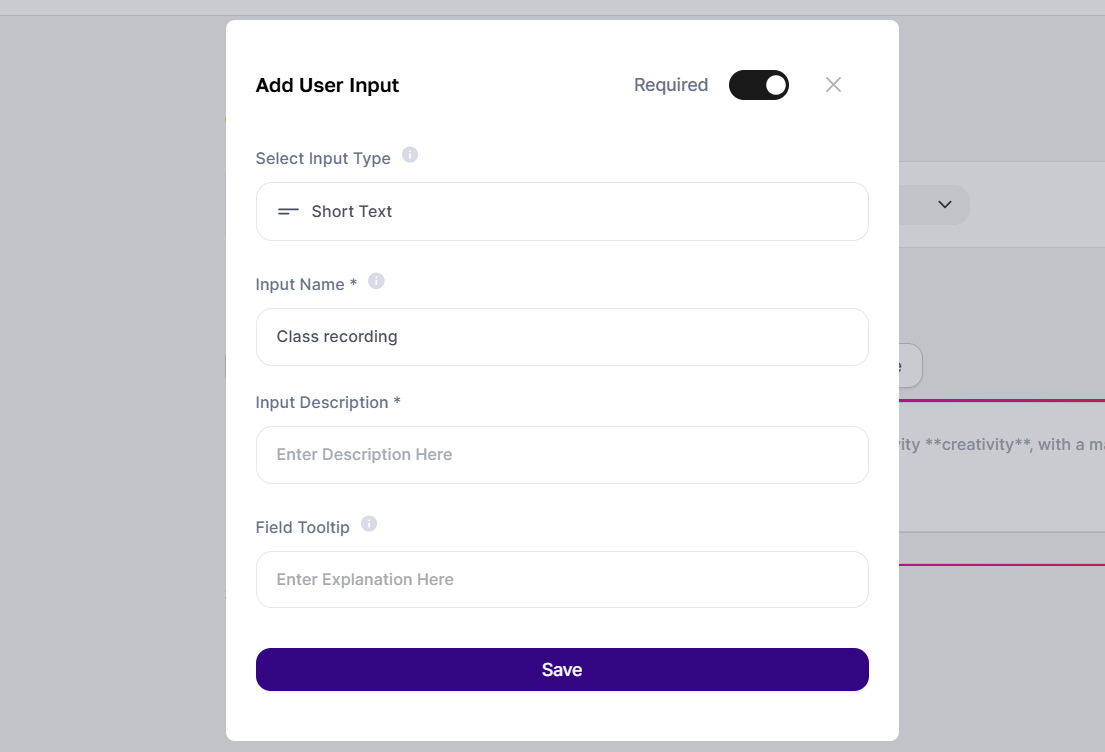
User Input (Lesson Upload):
Click on "Add a user input" below the system prompt.
Input Type: Pick "File upload".
Input Name: Give a descriptive name, like class recording.
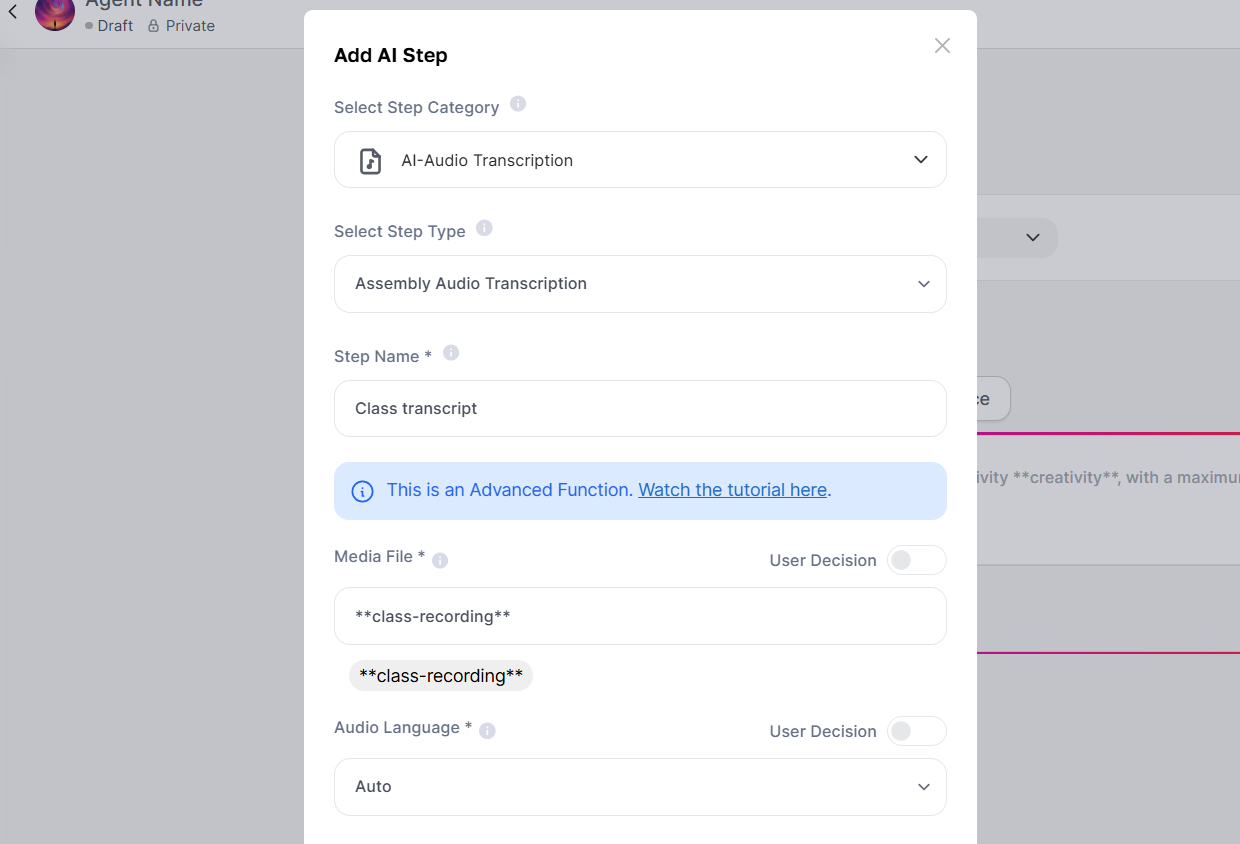
Transcription Step (AI Step):
Click on "Add an AI step."
Step Category: Pick "AI Audio Transcription."
Step Type: Choose the transcription model (e.g. Deepgram Audio Transcription).
Step Name: Give it a name, like class transcription.
Media File: Click on the link icon and pick the input variable you created before (e.g. **class-recording**). This makes sure the file uploaded by the user gets used for transcription.
Language: Set the language of the audio.
Integrating Transcription into the Main Prompt:
Go back to the agent's System Prompt.
Wherever you want the transcription to show up for analysis, add the variable output from the AI step. Example: Your job is to analyze the following transcribed class: **class-transcript** and then ...
Save and Preview:
Give your agent a name and save it.
Click "Preview" to test. You'll be able to upload the audio file, and the agent will follow the prompt instructions, using the generated transcription on its own.
Tip: Creating agents is powerful for automating repetitive tasks and building AI solutions tailored to your audio analysis needs.
Audio Quality: The better the original audio quality (less background noise, clear speakers), the more accurate your transcription will be.
File Limit: Remember there's a 200 MB per file limit for all transcription methods in Tess AI.
Formats: Make sure your file format is supported before trying to upload.
Timestamping: If you need to know the exact moment of each speech, use the Rev.ai model for transcription via chat (Knowledge Base).
Multiple Speakers: For audio with multiple speakers, clear recording is even more important. Some models might have a harder time telling overlapping voices apart.
Tess AI offers a solid and flexible set of tools for transcribing audio and video, covering anything from simple and straightforward needs to complex, automated workflows. By mastering the Transcription area of AI Copilot, using chat-based transcription with the Knowledge Base, and creating agents in AI Studio, you can turn your audio and video content into text efficiently, save time, and get the most value from your recordings.
