Manually transcribing audio is a slow process, not very scalable, and often makes it hard to get valuable info from recorded meetings, classes, interviews, or videos. Tess AI solves this with its Audio Transcription AI Steps—a powerful feature that lets you automate the whole process, turning any audio file into text quickly and accurately.
This article will walk you through, step by step, how to build a custom AI agent in the AI Studio, able to receive an audio file, transcribe it, and even do next steps like creating summaries or analyzing the content.
Before we begin, it’s important to understand the concept of AI Steps. Think of them as steps or building blocks of artificial intelligence that you can add to your agent. Each step is made to do a specific job, like transcribing audio, generating images, analyzing spreadsheet data, or connecting with other apps. By combining these steps, you can build automated and smart workflows that fit your needs.
Let’s build a sample agent that transcribes a class recording and creates a summary of the content.
Step 1: Accessing AI Studio
AI Studio is the place where you create and customize your AI agents.
In the left sidebar of the Tess AI platform, click the "AI Studio" button.
Then, click the “Add New Agent” button to start creating.
Step 2: Setting Up the Agent and the Prompt
On this screen, you’ll set your agent’s behavior. For this example, we’ll keep the default Chat AI setup, which lets you interact with the agent in a conversational way.
The heart of your agent is the My Prompt field. This is where you tell the AI about its persona, goals, and how you expect it to answer. A well-structured prompt gives you consistent, high-quality results.
For our example, let’s use the following structure:
# Persona
You're a content pro who specializes in transcribing and summarizing class recordings for students. Your language should always be straight to the point and direct.
# Goal
Your main goal is to analyze and transcribe the content of a class recording provided by the user and, from the transcription, create a concise summary of the material covered.
# Output (Response Format)
You should give back a summary of the transcribed content in up to 30 lines. The summary needs to highlight the main topics and concepts from the class.
# Rules
- Never make up information that isn't in the recording.
- If the user asks about a topic not covered in the class, say you don't have that info.
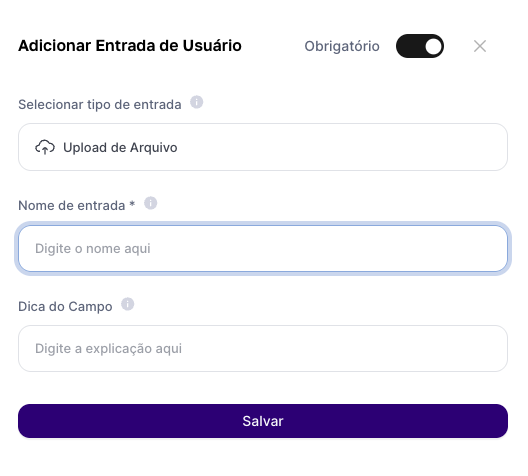
Step 3: Creating the User Input for the Audio File
For the agent to transcribe an audio, they first need to receive it. We’ll do this by creating a "User Input."
Below the prompt field, click on User Inputs.
Select the File Upload option.
In the Input Name field, give it a simple name, like “File.” This will be the field where the user uploads the audio.
Click Save.
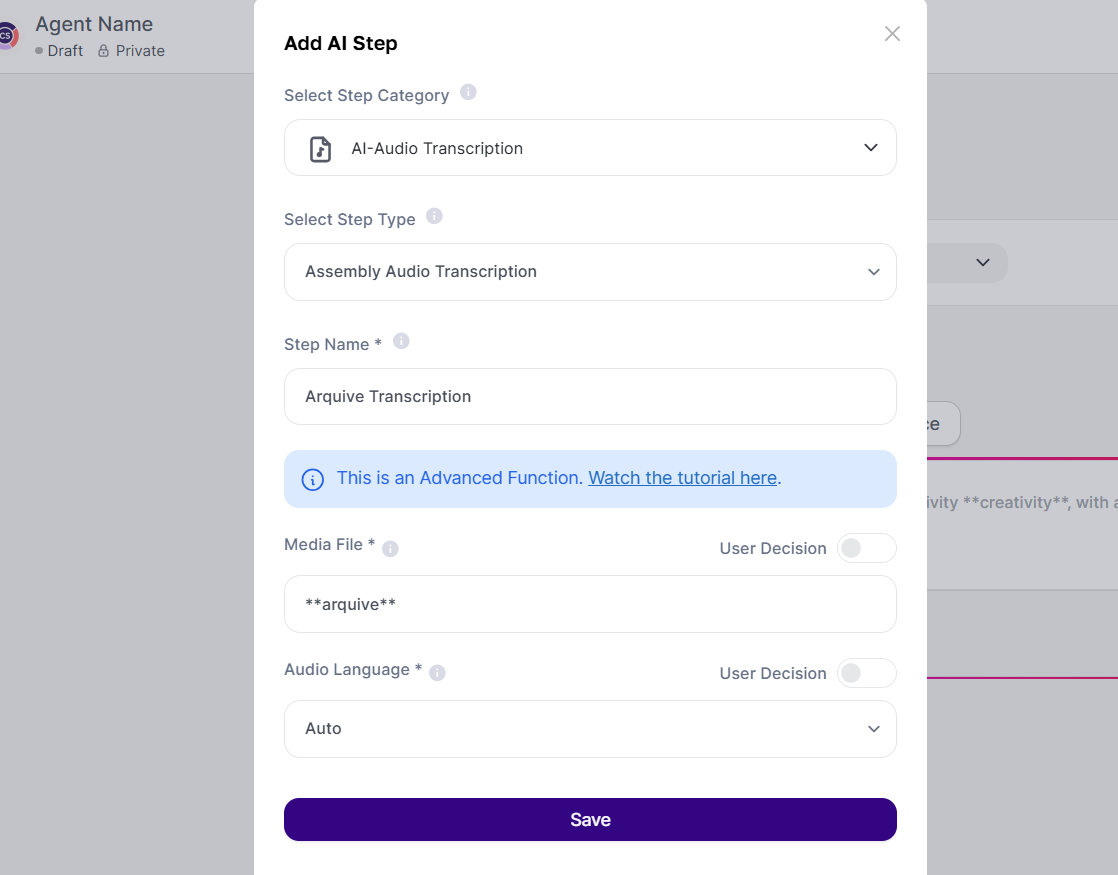
Step 4: Adding the AI Transcription Step
Now that the agent can receive the file, let's add the step that will do the transcription.
Click AI Step.
In the category list, select AI Audio Transcription.
Under Step Type, you'll see different transcription models. Each one has its strengths:
AssemblyAI: Awesome transcription quality.
Deepgram: Focused on super fast processing.
OpenAI (Whisper): Great balance between speed and quality.
Rev.ai: Perfect for audios with multiple speakers since it can tell voices apart.
For this example, let's pick AssemblyAI.
In Step Name, set a clear name, like File Transcription.
In the Media File field, click and select the variable we created in the previous step: **arquivo**. This connects the user's input straight to the step, making sure any file sent will be processed.
Select the audio language (e.g., Portuguese).
Click Save.
Step 5: Connecting the Step to the Prompt
The AI needs to know where to use the transcription result. So let's insert the step variable right into our prompt.
Go back to the My Prompt field.
At the end of the text, add a new section for the content to be analyzed.
Your prompt will look like this now:
“... (Persona, Objective, Output and Rules) ...
# Content for Analysis
The transcribed class content is as follows:
**file_transcript**”
Step 6: Saving and Testing Your Agent
With everything set up, your agent is ready to be tested.
In the top right corner, click Save.
Give your agent a name, like "Class Summary", and save it.
Click Preview to open the test interface in a new tab.
On the test screen, you’ll see the upload field we created (file). Upload an audio file and click to send.
After processing, send a command in the chat, like "Generate the class summary".
The AI will run the whole flow: it'll receive the audio, the transcription step will be triggered, the resulting text will be inserted into the prompt, and the agent will follow your instructions to generate the formatted summary.
Extra Tip: Combining Steps for Advanced Flows
The power of AI Steps is in how you can combine them. You can make even more complex agents. For example, a workflow that:
Gets an audio file in Portuguese (User Input).
Transcribes the audio to text (AI Step: Audio Transcription).
Translates the text to English (AI Step: AI Assistant, with a translation prompt).
Generates a new narration in English (AI Step: Audio Voice Over).
This shows how you can build complete solutions by connecting different AI abilities into a single automated workflow.
Conclusion
Tess AI's Audio Transcription AI Steps are a game-changer for anyone or any team working with audio content. By following this guide, you can build custom agents that not only turn speech into text but also analyze, summarize, and reformat all that info, saving hours of manual work and letting you actually unlock the real value of your audio files.
