Creating presentations from scratch can be a time-consuming and challenging process. From planning the structure and writing the content to picking the design, each step takes time and usually a good dose of creativity. Lack of ideas, the well-known "creative block," is a common obstacle that can delay important projects.
The good news is that Tess AI offers a powerful solution to change up this process. By using the Conversation Copilot together with the Manage Files tool, you can generate complete presentations in PowerPoint (.ppt) format in just seconds. This article will walk you through a detailed step-by-step from a simple idea all the way to a structured, ready-to-use presentation.
Inside our Conversation Copilot, there are several tools that expand AI's abilities far beyond just text generation. The Manage Files tool is key for creating documents. With this, the AI can generate, edit, and work with files in different formats like DOCX (Word), PDF, XLSX (Excel), and of course, PPT (PowerPoint).
Once you activates it, the AI uses code behind the scenes to build the requested file, following your instructions exactly.
To get the best results, we recommend following a structured process. Instead of asking for the presentation right away, we start by building the foundation of the content.
Step 1: Create and Validate the Presentation Outline
Before generating the file, it's essential to have a clear idea of the content. Start by asking the AI to create a detailed outline for your presentation. This lets you validate the structure, flow, and topics before committing to writing the final document.
Command Example:
“Create an outline for an 8-slide presentation about AI for Small Businesses. The target audience is entrepreneurs and the goal is to show the practical benefits of the technology.”
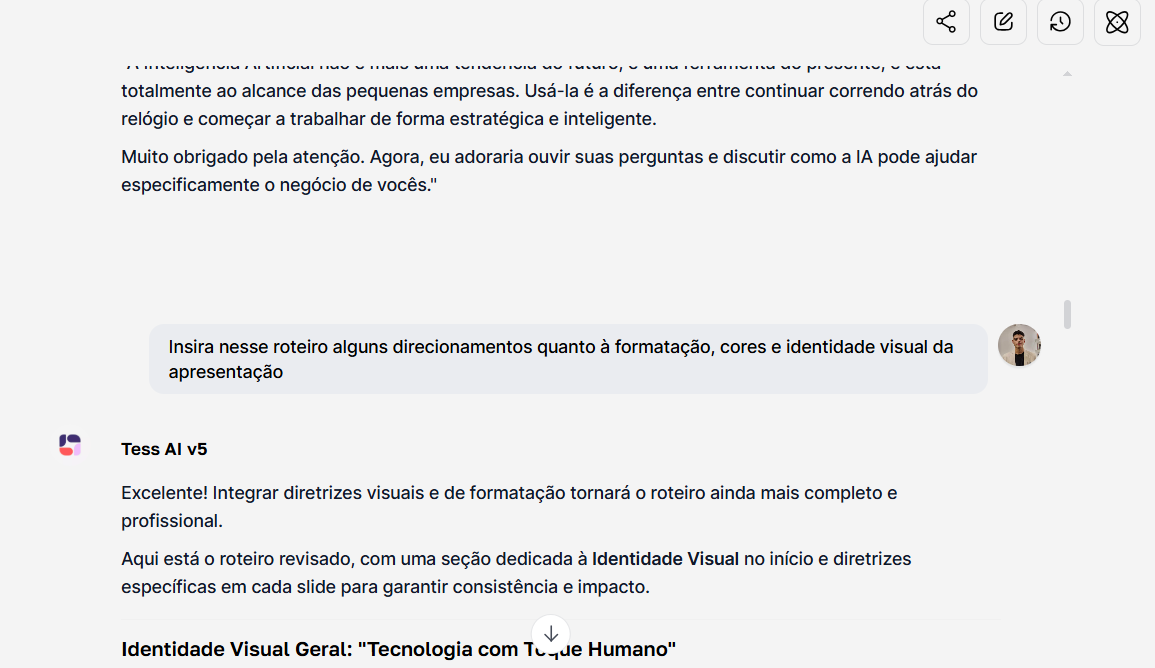
The AI will return a structure slide by slide. To refine it even more, ask for visual guidelines.
Refinement Command Example:
“Add some guidance to this script about the formatting, color palette, and visual identity of the presentation.
Review the proposed script. If the slide order or the content isn’t the way you want, ask for tweaks at this stage. This early validation saves a ton of editing time later on.”
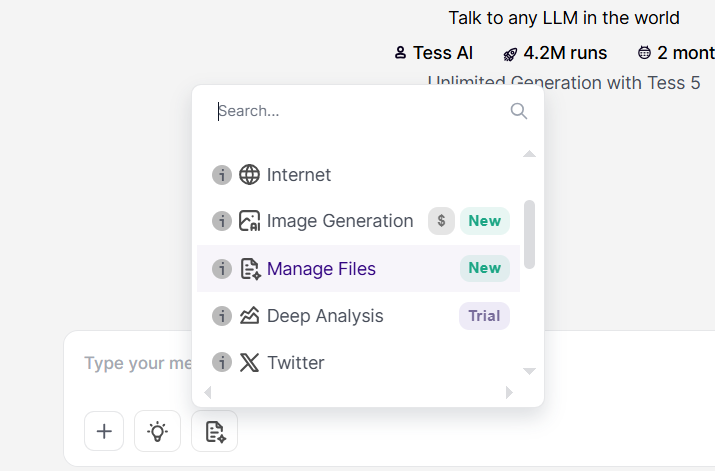
Step 2: Turn On the Manage Files Tool and Pick the Best Template
Once the script’s approved, it’s time to fire up the creation tool.
Click on the Tools icon right next to the typing area.
Pick the Manage Files option.
Next, choose an AI model. For creating files, the Claude family models (like Claude 3 Sonnet) and GPT-4 are highly recommended for their performance and reliability when it comes to document creation.
Tip: Some models are unlimited, while others use up credits. You can check this info in the model selector. Claude and GPT-4 models usually give the best results for generating complex documents.
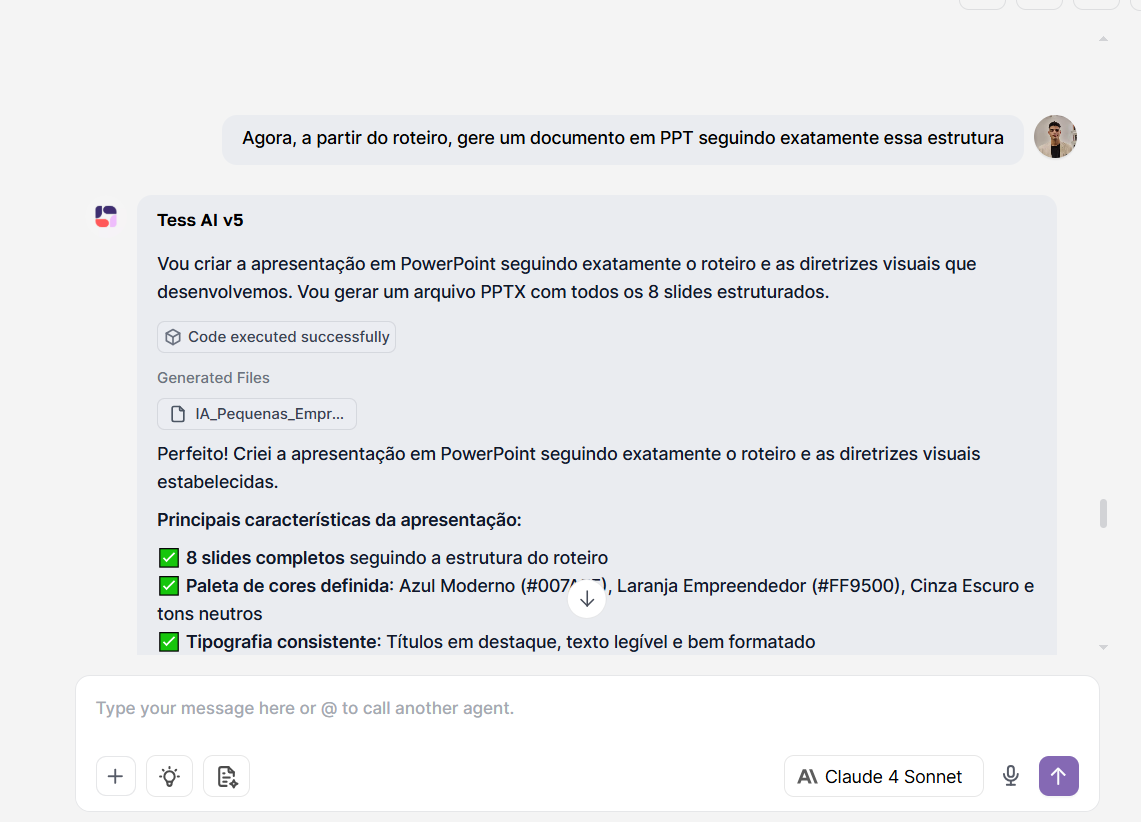
Step 3: Ask for the Document Generation
Now, with the outline's context already in the chat, give the final command for the AI to create the PowerPoint file.
Command Example:
Based on the script we developed, generate a PPT document, following exactly this structure and the visual guidelines.
The AI will process your request, showing a message like "Using tool: manage_files" and "Running the code". This process might take a few seconds longer than a text response because the platform is building the file for you. At the end, it will give you a clickable link to download your presentation.
The first version of the presentation is a great starting point, but the big advantage is that you can keep using AI to tweak the document.
Tweaking the Design and Colors
Not happy with the first design? Just ask for changes right in the chat. The Manage Files tool also lets you edit already created files.
Edit Command Example:
Change the document background to dark blue and the text to white.
The AI will create a new version of your file with the changes you asked for.
Adding Images to Make Content Richer
A visually rich presentation grabs more attention. You can ask the AI to put images in your slides. The best way to do that is by giving the image link.
Create an image: Use Tess AI's Image Copilot to generate an image that matches your theme.
Copy the image link: After generating the image, click on it and copy the "Image Link."
Ask to insert: Go back to Conversation Copilot and give a specific command.
Example Command to Insert Image:
On the third slide of the presentation, insert the following image: link.imagem.jpg
The AI will process your request and generate a new version of your file, now with the image added to the right slide.
Best Practice: If a command doesn't work as expected (for example, the image filled the background incorrectly), try refining your instruction. Instead of "use as background," try "insert the following image in the center of the slide." Being clear with your command is key.
Conclusion: Speed, Creativity, and Professionalism
The ability to create presentations right inside Tess AI’s chat is a big shift in how we make content. The main benefits include:
Extreme Speed: Turn hours of manual work into just a few minutes by automating the structure, initial text, and design creation.
No More Creative Block: Use the AI to kickstart ideas and structure, even when you don't know where to begin.
Ongoing Personalization: Get a solid base and use the same tool to tweak colors, update text, and add visuals like images—right in the flow.
Versatility: Use this feature in all sorts of situations, whether it's making a sales pitch, a marketing webinar deck, or even an academic project.
Once you master the process of scripting, generating, and tweaking, Tess AI becomes your complete productivity sidekick, ready to deliver pro presentations with lightning speed.
