Think of the "Members" area as your team’s control room in Tess AI. This is where you have the visibility and power to manage who is part of your workspace, how they use the platform, and what permissions they have.
This complete guide will show you how to add, manage, and set your team members’ permissions.
But before you start, and for a better experience, make sure your workspace is already customized. If you haven’t done that yet, check out our article on how to set up your workspace here.
User Types and Permission Levels
In Tess AI, there are different roles that you can assign to members, each with a specific set of permissions. Understanding these roles is key to effective and secure management.
Current Plans - Basic, PRO, Team and Enterprise plans
Legacy Plans - Beginner, Individual and Business Plans
How to Invite New Members
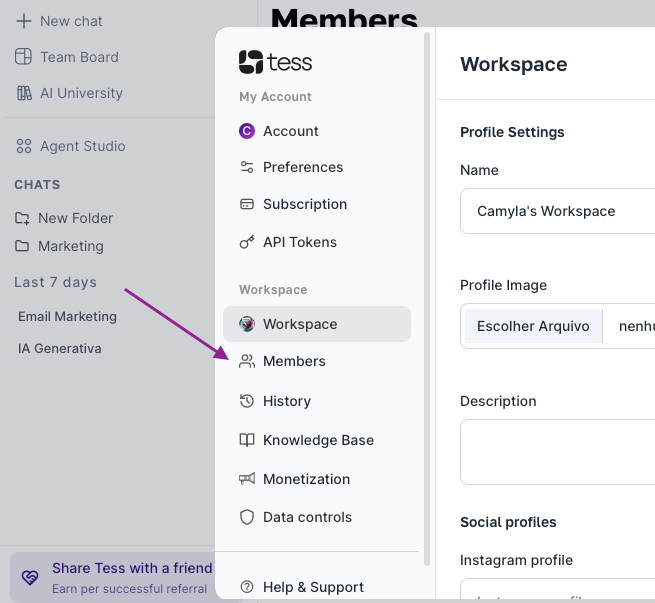
Go to your profile settings, navigate to the "Workspace" section and click on "Members".
You’ll be redirected to the management screen, where you’ll have two options to invite people:
Method 1: Invitation via Secret Link
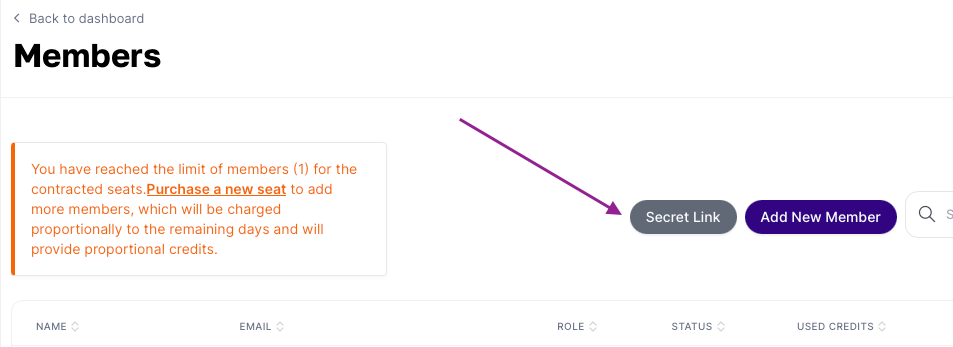
This is the simplest and fastest way to invite several people at once, especially for the Guest role.
On the Members screen, click the icon to generate a Secret Link.
Choose the access level that users invited through this link will have. The options for Guests are:
Guest: Access to use all workspace agents and copilots.
Activate and copy the generated link to share with your team.
Security tip: Share this link only in your company’s private channels (like Slack or internal email). Avoid posting it in public places to prevent unauthorized access.
Method 2: Invite via Email

Ideal for inviting specific people, especially for higher-permission roles like Manager or User.
Click on "Add new member".
Type the person’s email (or a list of emails separated by commas).
Set the member’s role.
Send the invite.
Important: The invitation sent by email is valid for 3 days (72 hours). After that period, you’ll need to revoke the expired invite and send a new one.
Managing Members in Day-to-Day Operations
The "Members" screen is your hub for ongoing team management:
Member Removal: If a collaborator leaves the team, you can revoke their access immediately by clicking the "X" icon next to their name.
Usage Monitoring: Track each member's credit usage to understand how resources are being used. To do this, go to the "Usage" tab in your workspace settings menu, where you can filter runs by user and get a detailed view of consumption.
Seat Management: Keep clear control over paid seats (User) and free seats (Guest / User Lite) to make sure your team is sized in a smart and cost-effective way.
Efficient member management not only ensures data security and collaboration, but also optimizes resources, allowing you to scale AI usage across the entire organization in a strategic way.
If you have any questions, our team is available by email at suporte@tess.im.
