Connect Tess to your official information, documents, and materials so it can answer with accuracy and consistency.
What is it?
In Tess’s chat, you can attach files to give context and “train” the conversation (that is, let Tess use that content to answer better). There are two ways to send files in the chat: quick upload (drag/paste) and advanced upload (via the “+” button), which unlocks important processing settings.
What happens when you send files in the chat:
When you attach a file to the chat, Tess can process and use that content as a basis to:
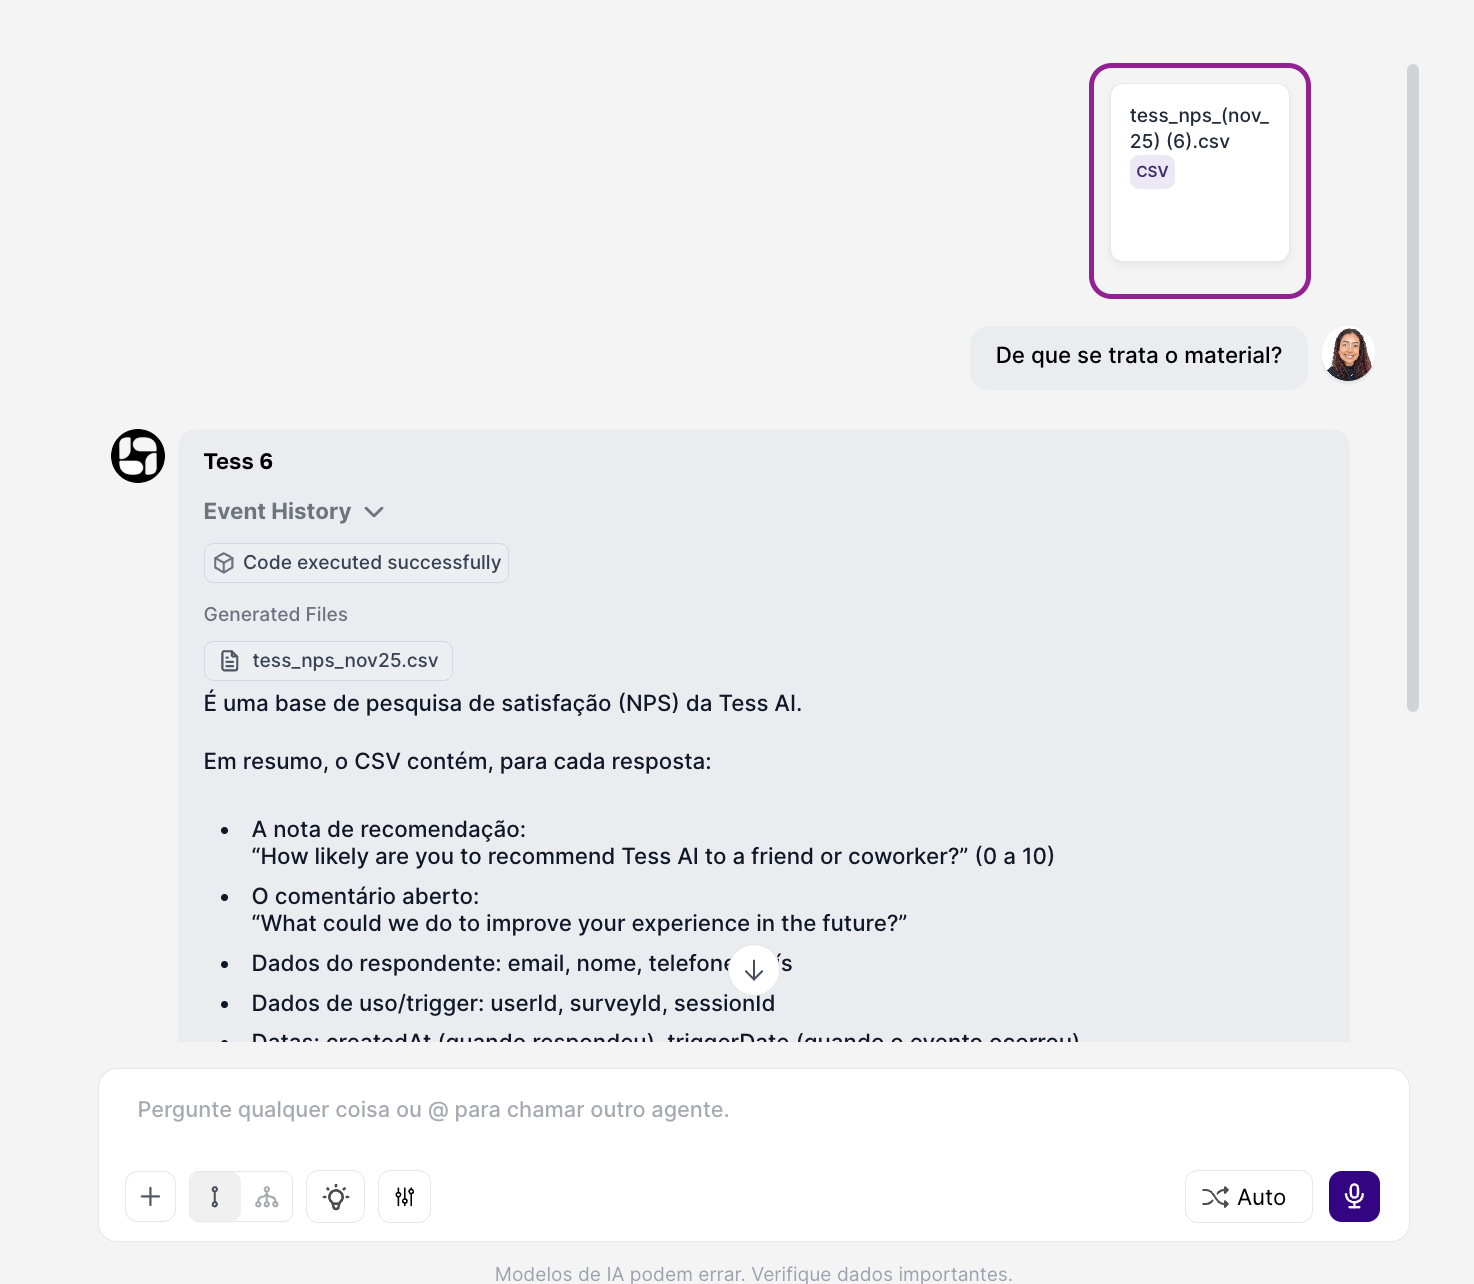
answer questions about the file’s content
summarize, extract data, and create outputs from the material
keep the context of the service/chat (especially useful for support, onboarding, and projects)
Plus, the full history of uploads and use of these files can be checked in the Knowledge Base inside Settings.
Keep in mind that when you add a document to a conversation’s Knowledge Base, only that conversation will be trained with that document. If you start a new chat, you’ll need to attach the file again.
To avoid rework, if it’s a repetitive task, we recommend creating an agent and attaching the file to the agent’s Knowledge Base (not the chat), so every conversation started with that agent will already be trained with the document that’s part of its Knowledge Base.
Two ways to send files (and the difference between them)
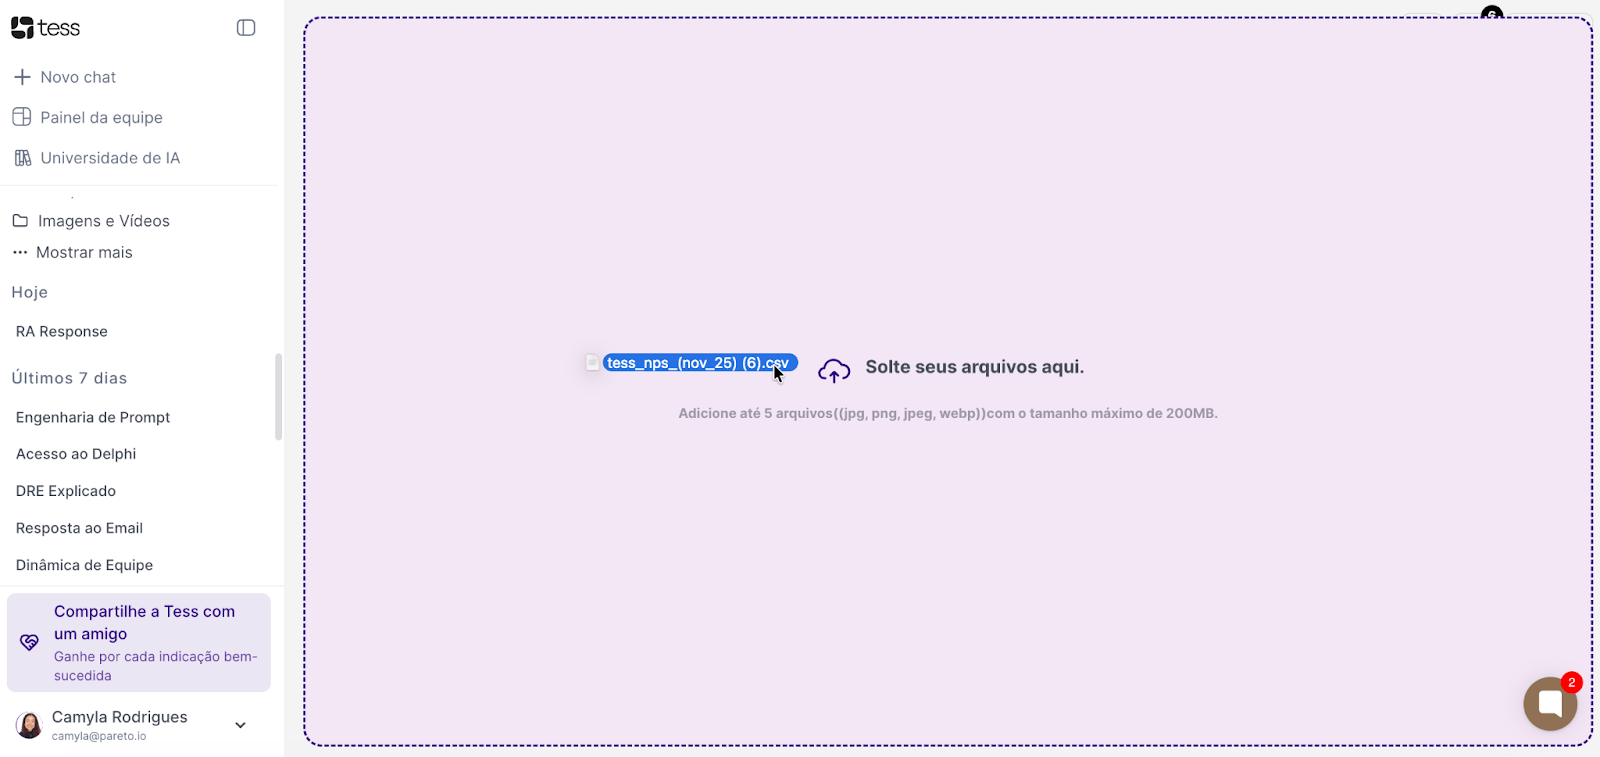
Quick send (drag or Ctrl+V)
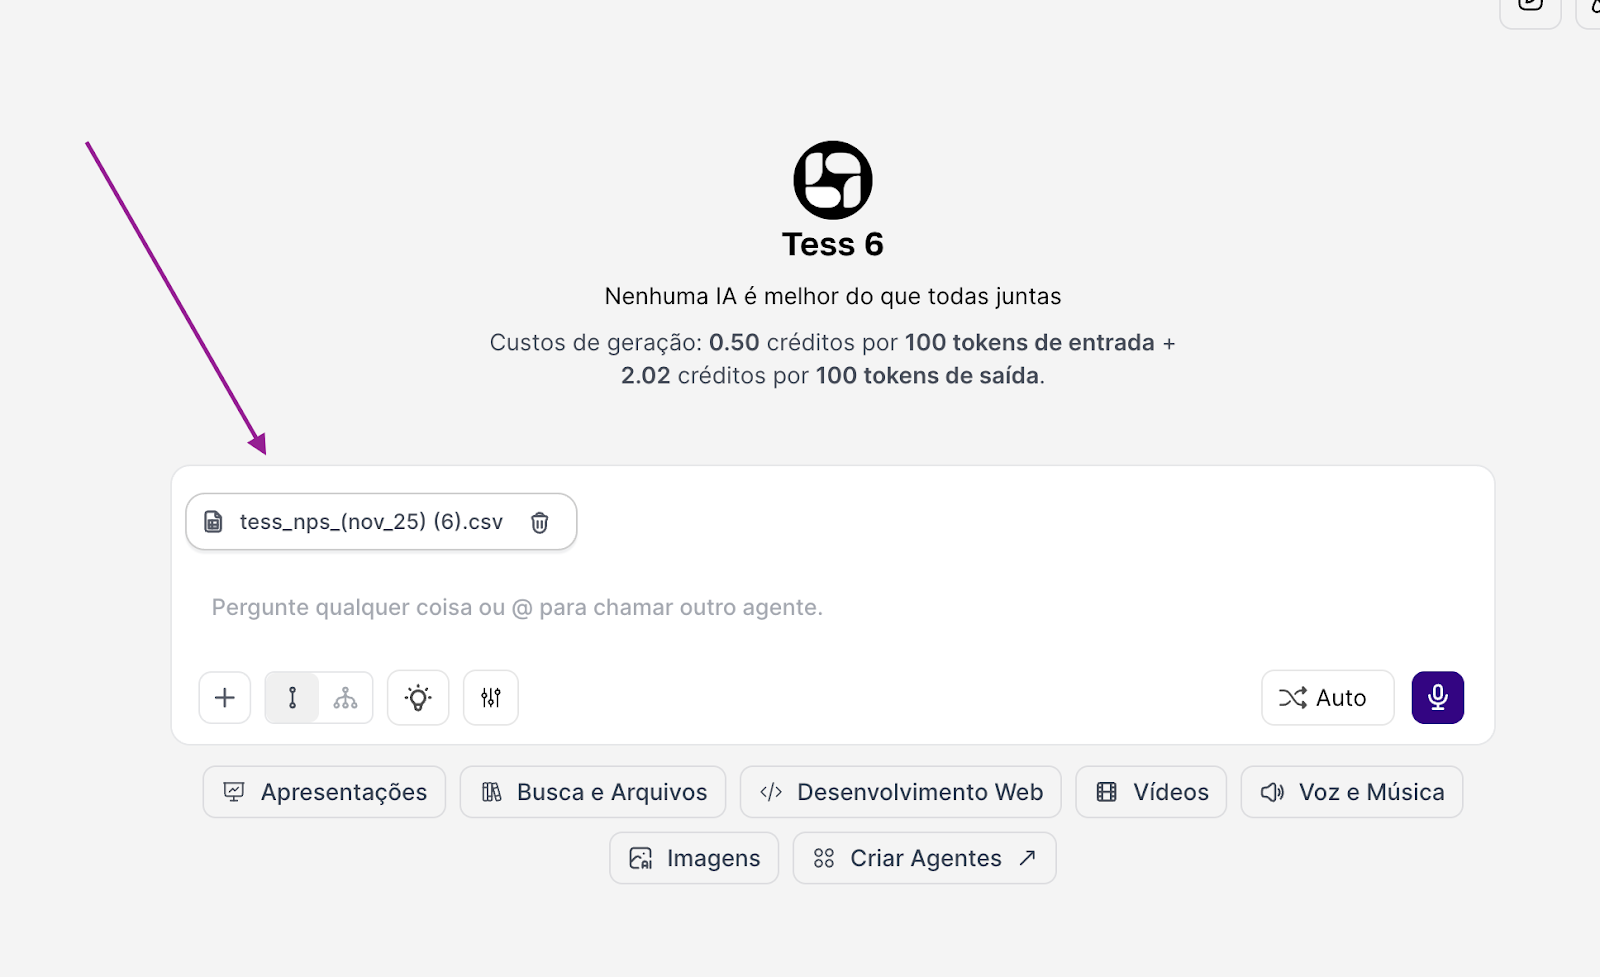
You drag the file into the chat, or paste it (Ctrl+V) when applicable. It’s the fastest way to attach something and keep the conversation going.
After it’s sent, it will show up at the top of the chat, and the training will be finalized when the message is sent along with the file:
Limitation: Usually it doesn’t let you choose advanced processing options. In other words, you attach it, but you don’t control how the file is processed (RAG or Deep Learning).
When to use: When you just need to quickly attach something and don’t need settings (e.g.: a simple image, a CSV, a PDF with text, a link).
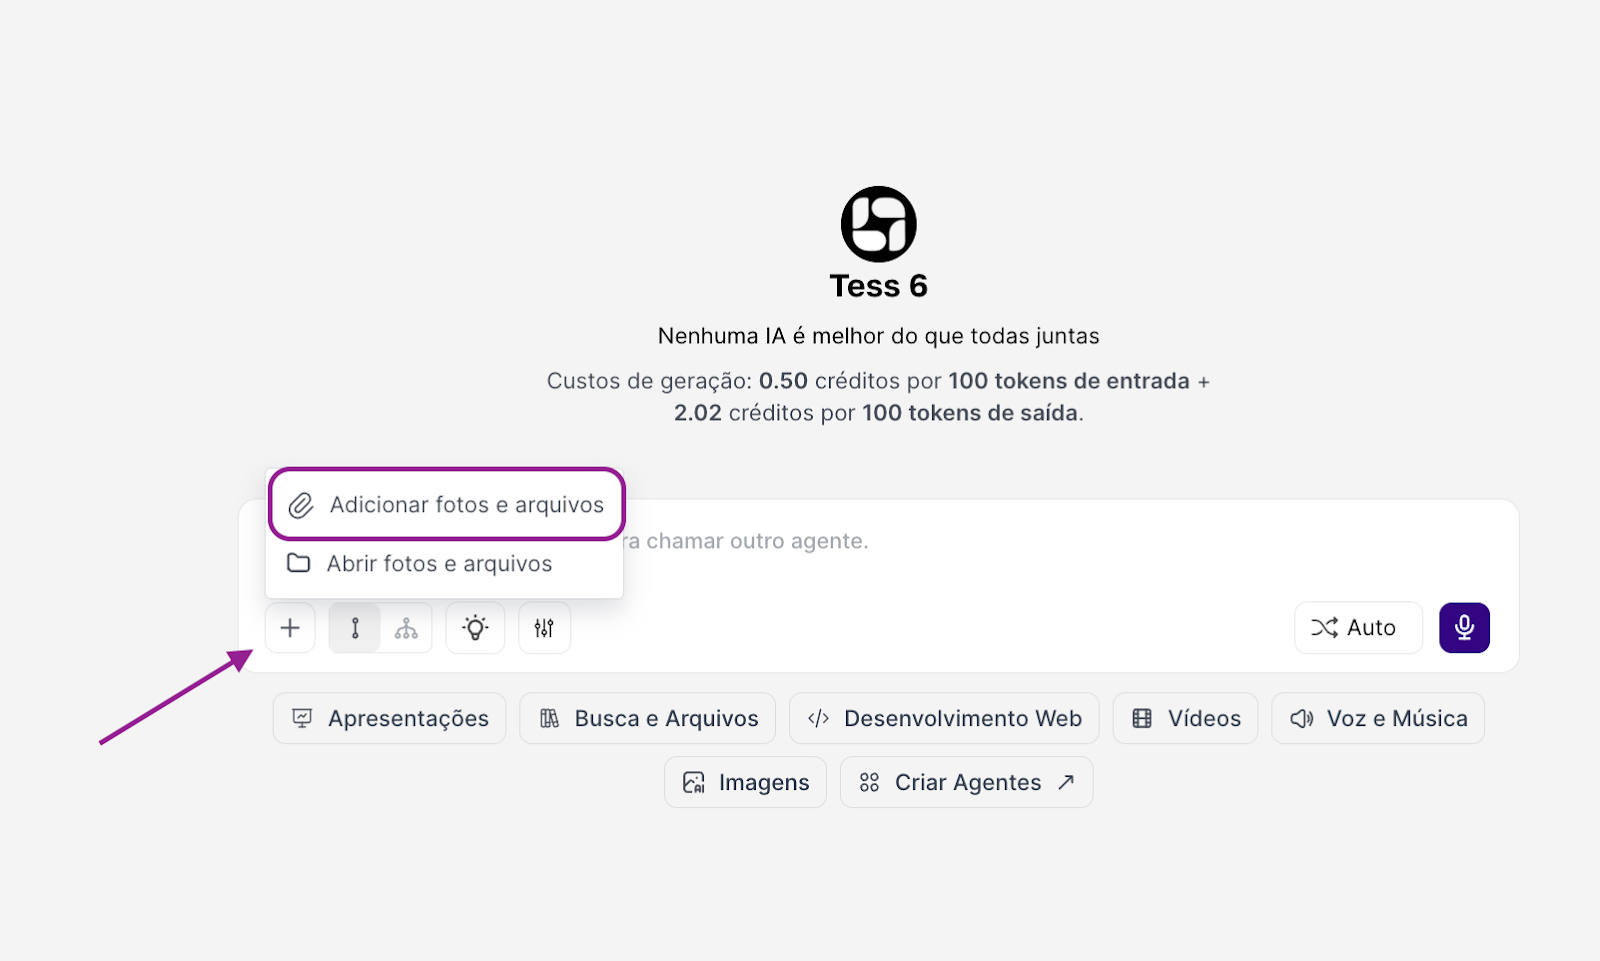
Advanced upload (using the “+” button)
In the chat, click the “+” button (tools/attachments) next to the message box.
Select file upload/attachment through this path.
Through this path, you’ll be able to choose the type of processing before sending (when available) and enable specific settings by file type.
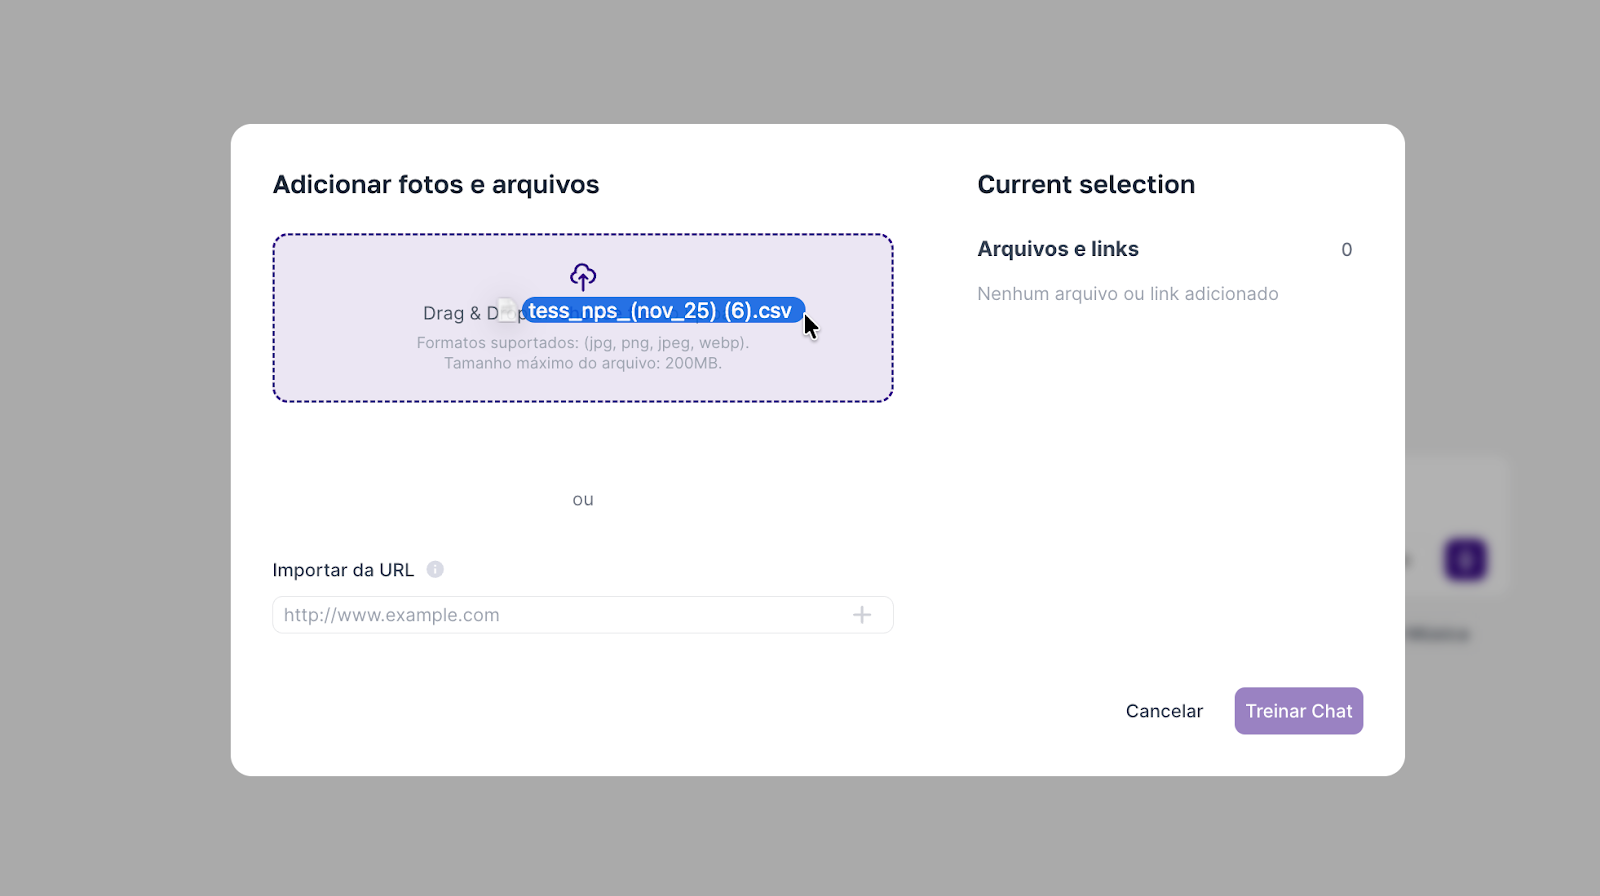
On this screen you can also drag the file or select it from your computer. When you attach a file, it will appear on the right side and, by clicking the little arrow, you can expand the available settings (when applicable):
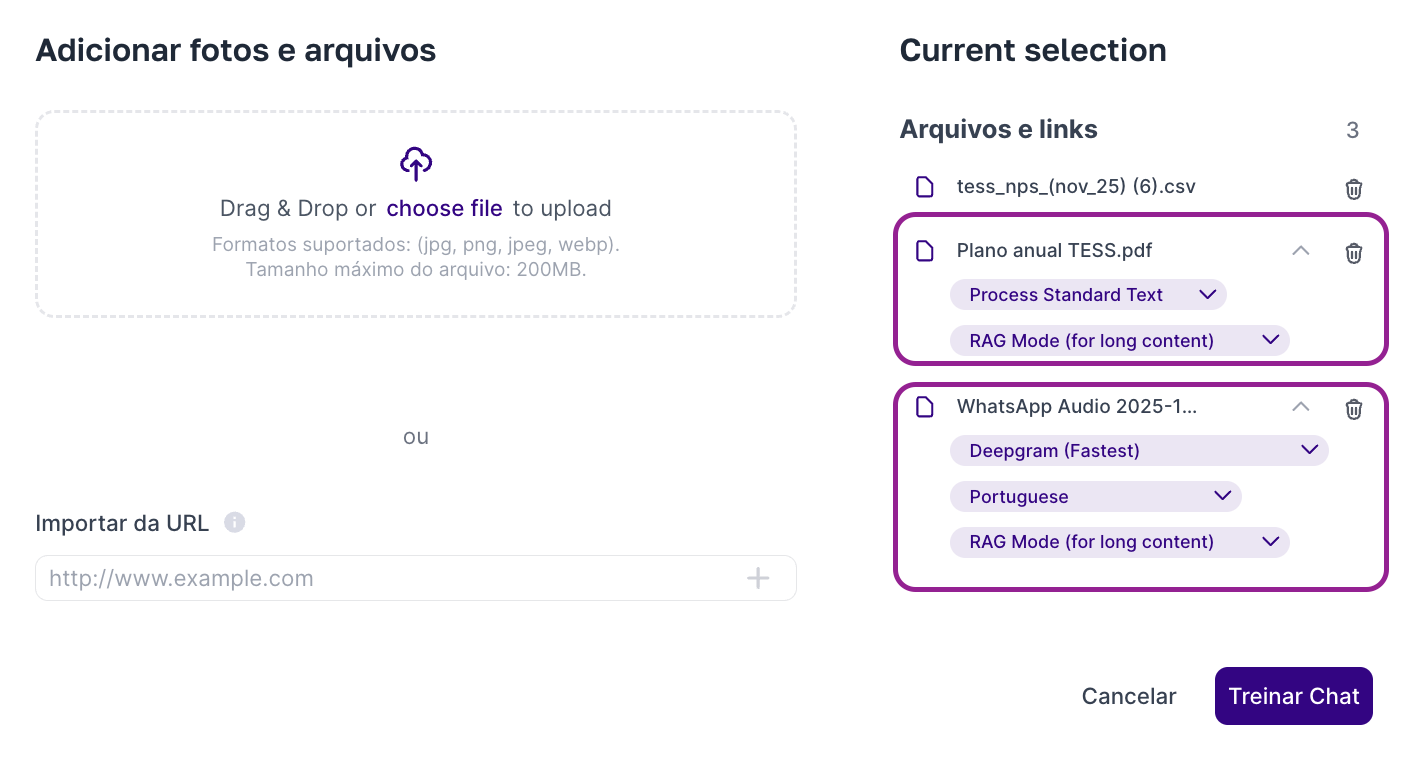
What you can configure (examples):
A) Type of processing between RAG and Deep Learning
RAG (retrieval): focuses on finding relevant parts of the file to answer questions based on the content. Uses fewer credits.
Deep Learning: focuses on a deeper processing of the content, depending on the file type and the resources available. Uses more credits.
B) Specific settings by file type, for example:
PDF: You can choose how the PDF will be interpreted, for example:
Text processing: ideal when the PDF is made up of selectable text.
OCR: ideal when the PDF has some image, or is scanned and the AI needs to “read” the text from text and images.
MP3 and MP4: You can set transcription parameters, for example:
Language: helps the transcription be more accurate (especially in PT-BR, EN, ES etc.).
Transcription AI/model: choose between Deepgram, Assembly, Open AI, and Rev AI.
Remember that you can track everything that was sent to Tess (including uploads done in the chat) in the Knowledge Base of the Settings.
Each document added to the Knowledge Base consumes a small amount of credits to perform this task.
If you have any questions, you can reach out to our team at the email: support@tess.im.
