Tess's Image Generator is the space for exclusive image generation with all the models available on the platform. Here, you turn text descriptions (prompts) into unique, customized images.
You can create everything from ultra-realistic photographs to artistic illustrations, logos, graphics, and concept art — all without relying on generic image banks.
You can generate images in three ways in Tess AI:
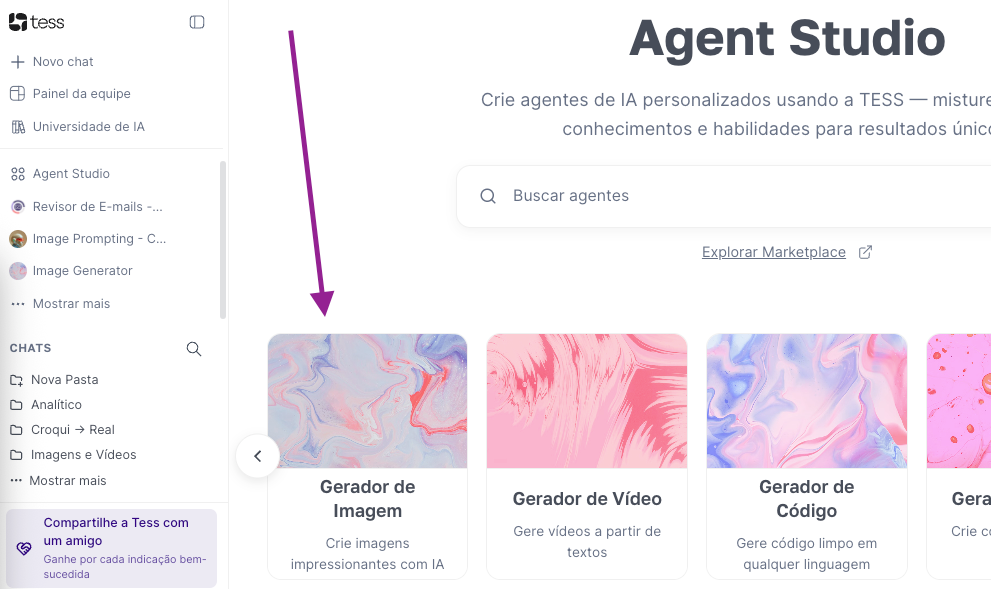
In the Image Generator (visual creation interface)
For this path, go to the left side menu, open Agent Studio, and then Image Generator.
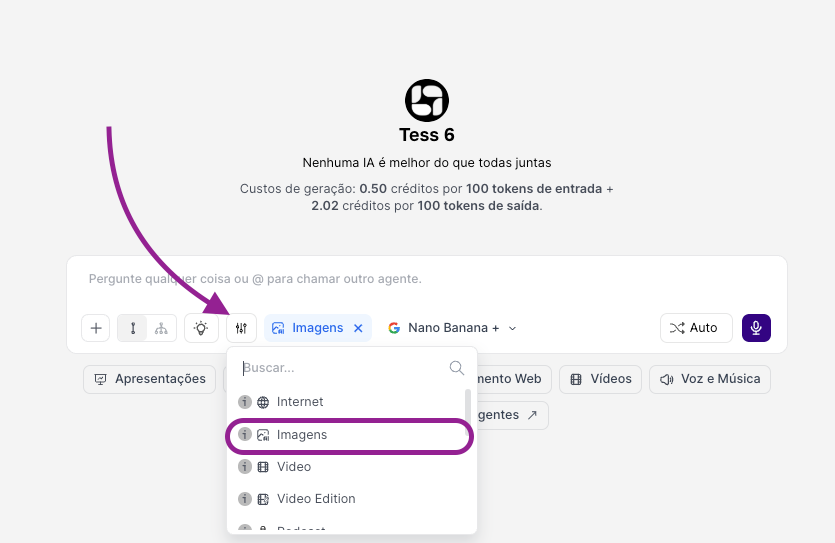
In Chat (via Tools)
Here, after opening the chat, turn on the Images tool in the Tools menu and ask for image generation using natural language.
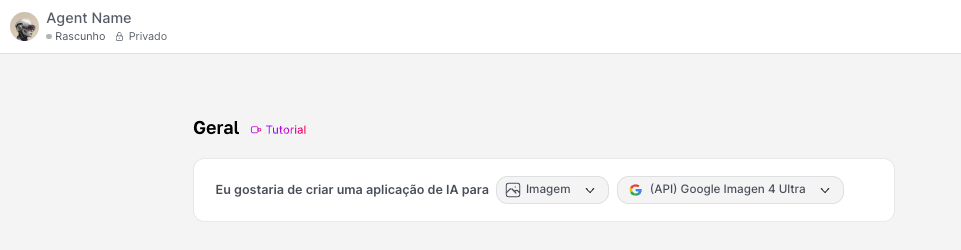
Via Image Agent (in Agent Studio)
After creating an agent specialized in generating images with fixed style, format, and rules. Ideal for keeping a visual standard in series (posts, ads, banners)
In this article, we’ll focus on image generation in the Generator, whose interface will work like your digital art studio inside Tess AI. There, you describe what you want to see and choose the AI model, tweak technical details (ratio, resolution, style), and generate the image.
To work on image generation in the Generator, put some care into the prompt, the model to be used, and the other advanced settings, which vary depending on the model you choose.
The Prompt
This is the heart of creating images with AI. In the prompt we describe, with as much detail as possible, the image we want to generate. The more specific, the better, since the AI creates the image according to the compositions of each image.
Think about elements like:
Subject: who or what is the main focus? E.g.: "a rusty vintage metal robot"
Action: what is the subject doing? E.g.: "reading a book lit by a candle"
Environment: where is the scene happening? E.g.: "in an old, dusty library with tall shelves"
Style and atmosphere: what’s the aesthetic? E.g.: "oil painting, dramatic lighting, baroque style"
Technical details (when applicable): camera angle, lighting, composition E.g.: "close-up, soft side light, shallow depth of field"
Example of a complete prompt:
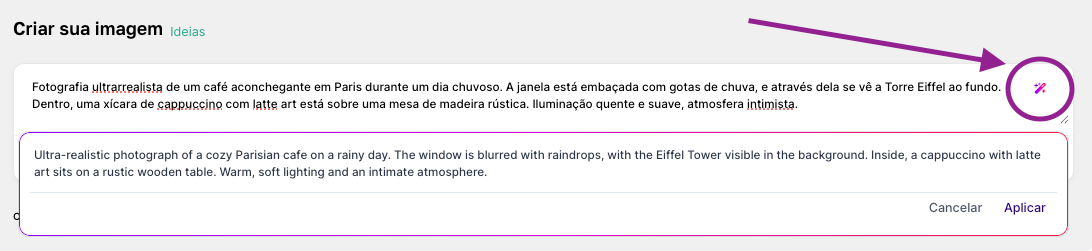
"Ultra-realistic photograph of a cozy café in Paris on a rainy day. The window is fogged up with raindrops, and through it you can see the Eiffel Tower in the background. Inside, a cup of cappuccino with latte art is on a rustic wooden table. Warm, soft lighting, intimate atmosphere."
Tip: Make the most of the Magic Prompt feature to improve your prompt and translate it into English (which performs better), since there’s no LLM to help you with that, unlike what happens in chat!
The chosen model
Besides the prompt, it’s important to choose a model that will be responsible for generating your image. In Tess AI, we have a list with dozens of available models, each one trained and tuned for good results in different image contexts.
To go through the options and look for one, you can type its name or scroll down the list:
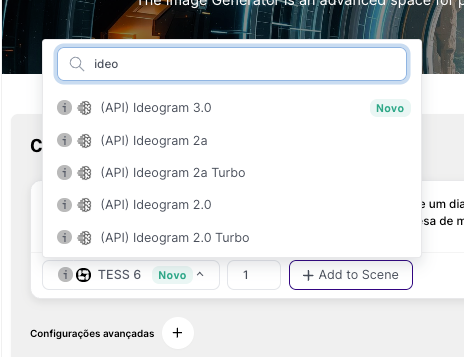
Each model has its own characteristics; some are better for photographic realism, others stand out in fantasy art, illustration, or artistic styles, and some offer more technical control (pose, composition, details).
The best way to figure out which one works best for you is by trying them out or checking the specs of each model on their official release pages.
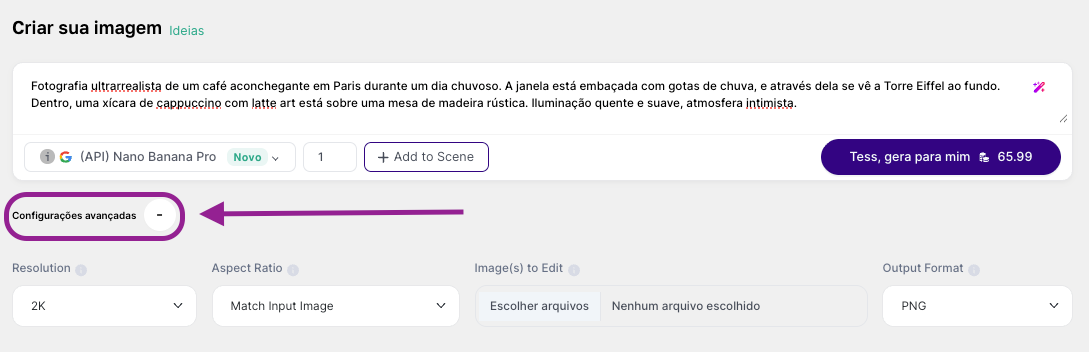
Advanced settings
Each model offers some advanced configuration options, so when you expand this option in the image generator you’ll see different and similar options across models. The main settings are:
Aspect ratio: square, portrait, landscape, widescreen
Resolution: defines file quality and size
Seed: to reproduce or iterate on a specific image
In some cases, you’ll also see the negative prompt option. Just as important as the main prompt, the negative is used to refine the result by removing unwanted elements.
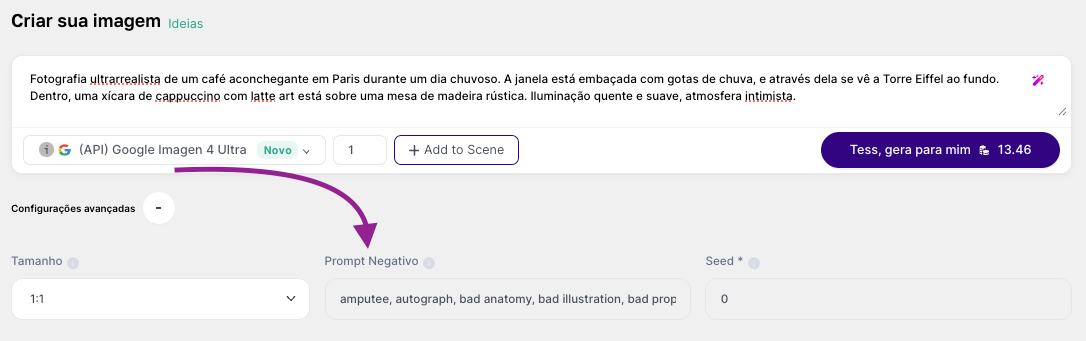
Use it to avoid:
Styles you don’t want. E.g.: "cartoon, 3D render, vector illustration"
Quality issues. E.g.: "low resolution, blurry, deformed, distorted, artifacts"
Unwanted visual elements. E.g.: "text, watermark, signatures, frames"
Specific colors or objects. E.g.: "shades of green, people in the background"
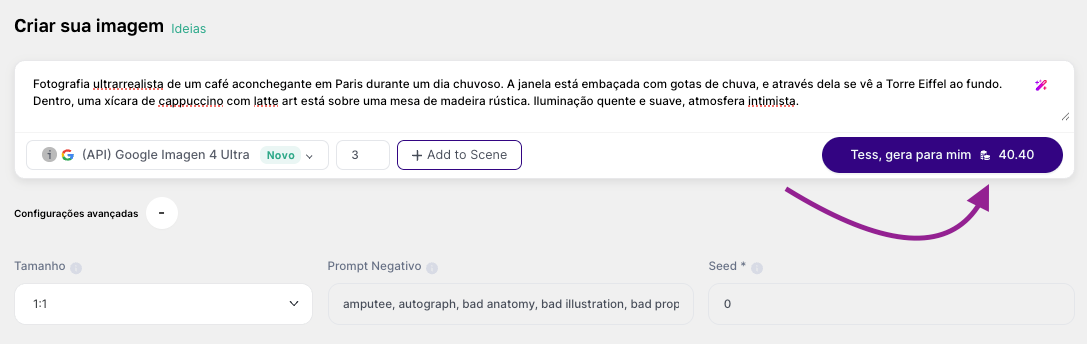
After everything is set up, just click to generate, see the results, and refine the parameters!
You’ll see the credit usage next to the generate button!
Your first image might not be perfect — use it as a starting point. Then, tweak the main prompt, generate variations, and combine that with post-processing (upscale, editing, background removal).
The Image Generator opens up a creative universe of almost unlimited possibilities. Whether you’re creating content for social media, illustrating an article, developing visual concepts, or just bringing your imagination to life, this tool puts the power of a design studio right in your hands — guided only by your description and creativity.
