The "Subscription" section is your portal for everything related to your plan with Tess AI. From there, you can manage your plan, view your history, and make other billing settings.
How to access your Subscription information
Log in to your Tess AI account.
Click the profile icon located in the bottom left corner of the screen.
In the menu that opens, select the "Settings" option.
Find the option: "Subscription".
Managing your Subscription
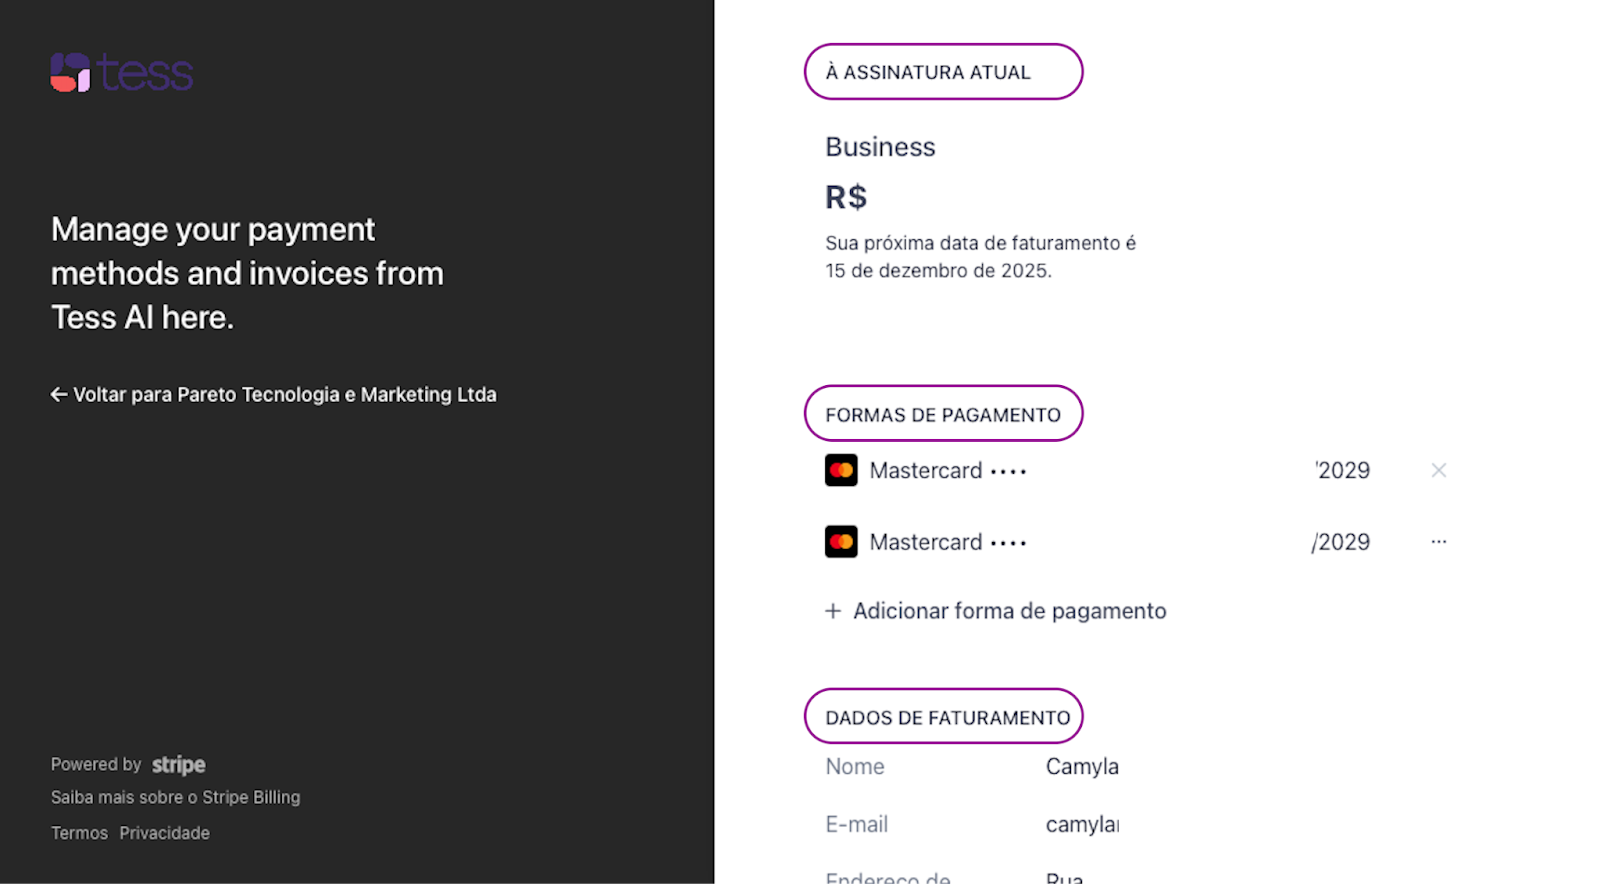
When you click on "Manage Subscription", you'll be redirected to our secure payments portal. There, you'll have access to all the tools to manage your plan, including:
Change the current plan (upgrade or downgrade).
View and download invoices and payment history.
Enable automatic credit top-up
Buy one-off credit packages
Cancel your subscription.
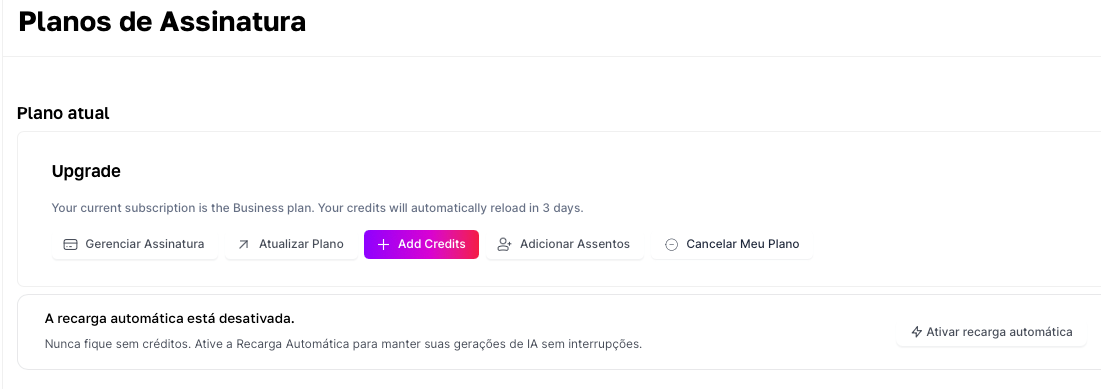
Exploring the Subscription Screen Options
The screen is divided into buttons that let you take quick actions on your account. Let’s go over each one:
Manage Subscription
When you click here, you’ll be taken to a screen where you can see the main details of your subscription:
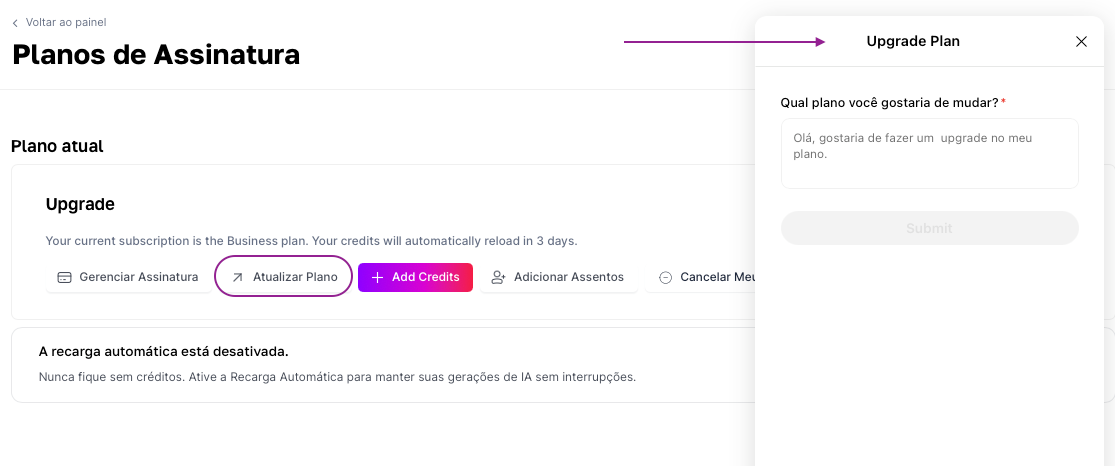
2. Update Plan
Here you’ll answer a form indicating which plan you want to switch to, and our team will get in touch to support you with the process and clear up any questions.
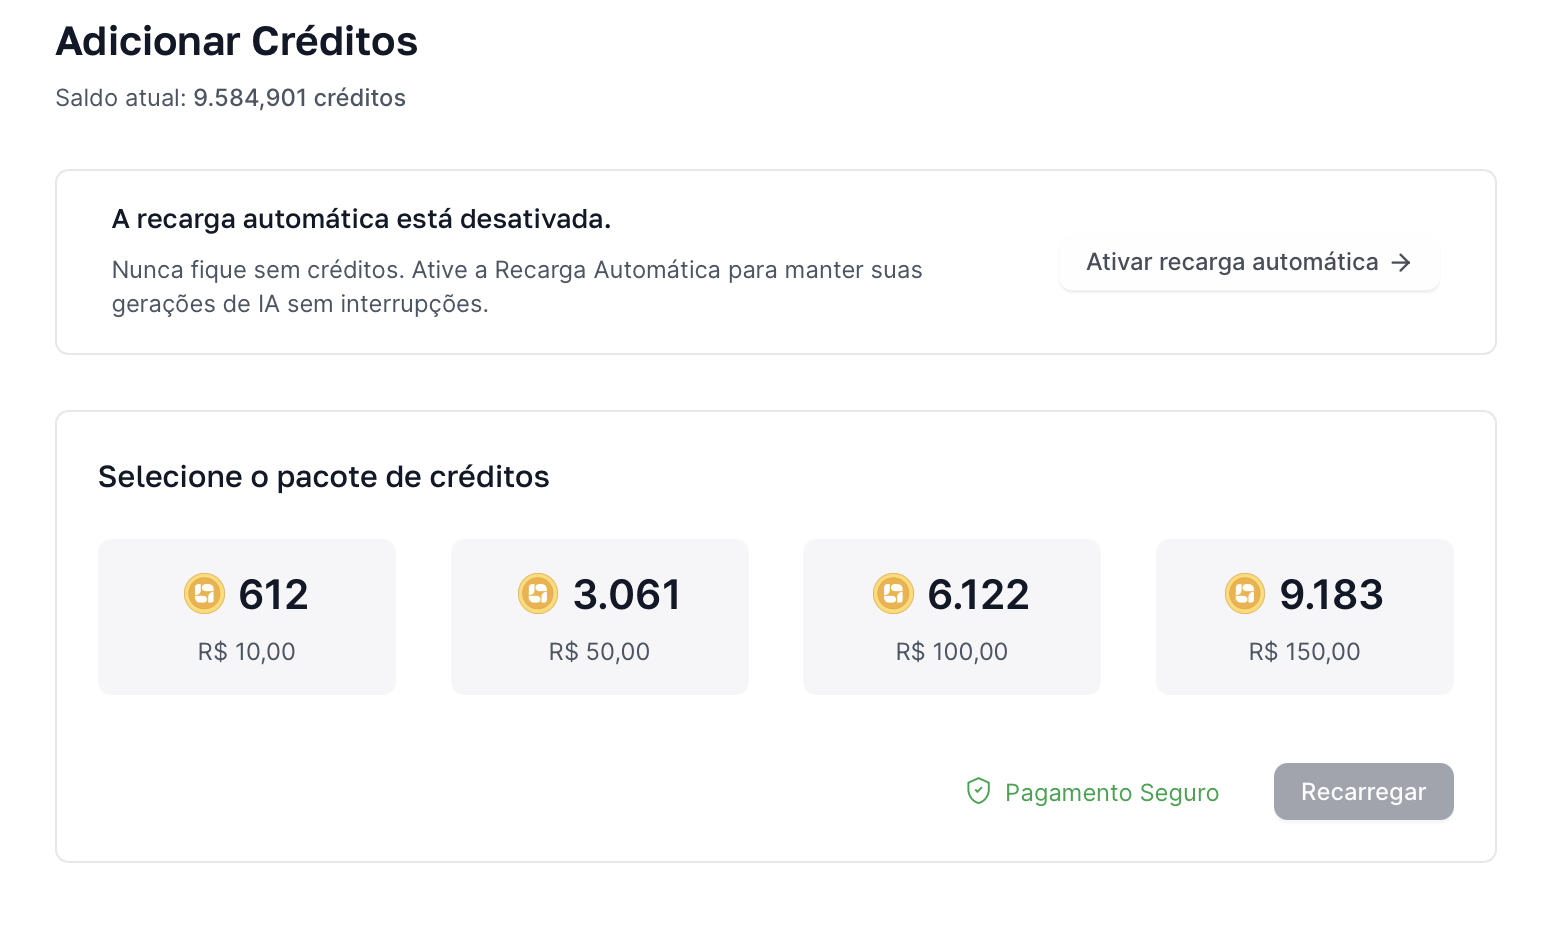
3. Add Credits
If the credits from your plan are running out before the renewal date, you can use this option to make a one-time purchase and top up your wallet. It’s the fastest way to make sure you can keep using the platform without interruptions.
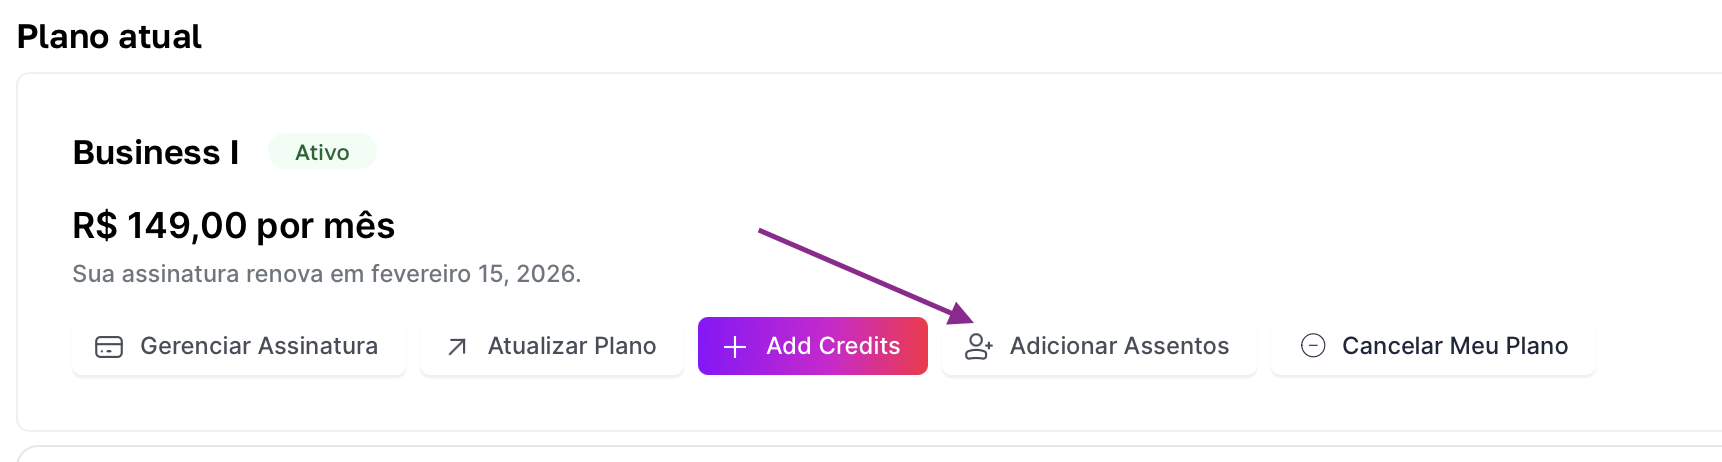
4. Add Seats
This option is only available for the old Business plan, where billing was done per user and the Workspace owner could add paid users to the account.
5. Cancel My Plan
If you want to cancel your subscription and stop using Tess, this button will let you schedule the cancellation of the subscription at the end of the contracted cycle. In other words, if you subscribe to the monthly plan and use it for 10 days, you’ll still have 20 days available. If you subscribe to the annual plan and cancel in the fourth month, you’ll still have Tess available for the next 8 months.
6. Enable Auto Top-Up
To make sure your team never runs out of credits and has the service interrupted, you can enable auto top-up (Pay as you Go). This feature monitors your balance and automatically tops up credits when the balance reaches a minimum amount defined by you.
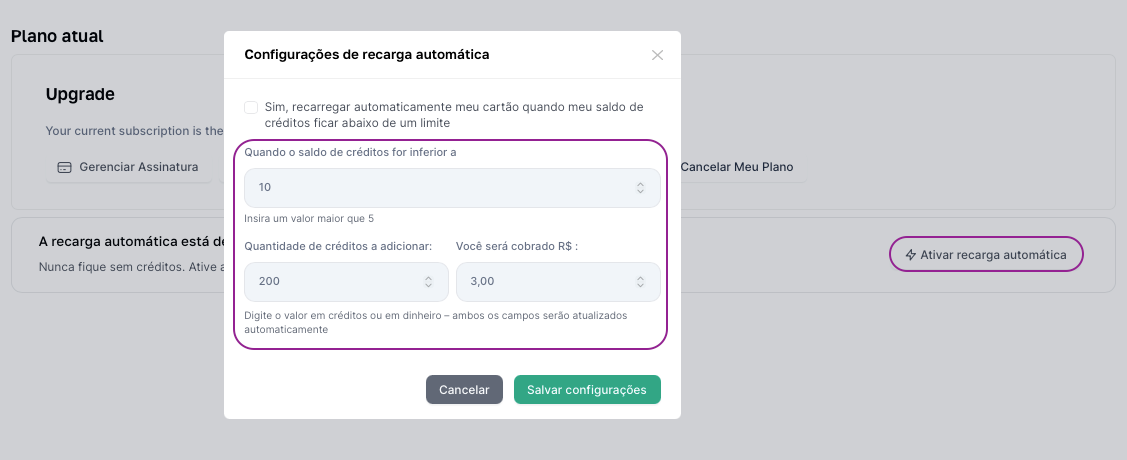
To set it up, click on "Enable auto top-up" and define the rules:
When the credit balance is less than: Set the minimum number of credits that will act as the trigger for the top-up.
Number of credits to add: Choose the number of credits (or the corresponding amount of money) that will be purchased with each top-up.
After adjusting the rules, save the settings to activate the service.
If you have any questions about your plan or billing, our support team is available to help by email at support@@tess.im.
