Creating agents in Tess is a smart way to use Artificial Intelligence to get more done and scale your everyday tasks.
In this article, we’ll walk through, step by step, how to build agents that not only meet user needs but are also set up for better visibility and ease of use.
One of the most common challenges when you’re creating your Agents in Tess AI is coming up with titles and descriptions that are clear and actually informative. A lot of times, Agents have descriptions that are repetitive or vague, which can just end up confusing people and stop them from really getting how the Agent works or what it’s meant to do.
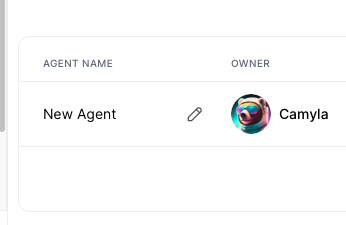

To get past this roadblock, we recommend using the helper agent created by our CEO, Rica Barros, called "Automatic Titles and Descriptions" and available in Tess AI. By following this practice, you not only make your agents easier to use, but also make it way easier to communicate what your features do to the users.
Using advanced steps in agents on Tess AI basically means you're powering up and training your AI even more, making it able to do more stuff—especially when you want it to handle or pull data from trickier sources like PDFs and URLs.
It’s not mandatory, but these are sub-routines created to make the agents you build with Tess even better and more refined.
To make it easier to understand and use these advanced features, we’re going to walk through how to set up and use the step for attaching a PDF.
So, here’s the process in a nutshell:
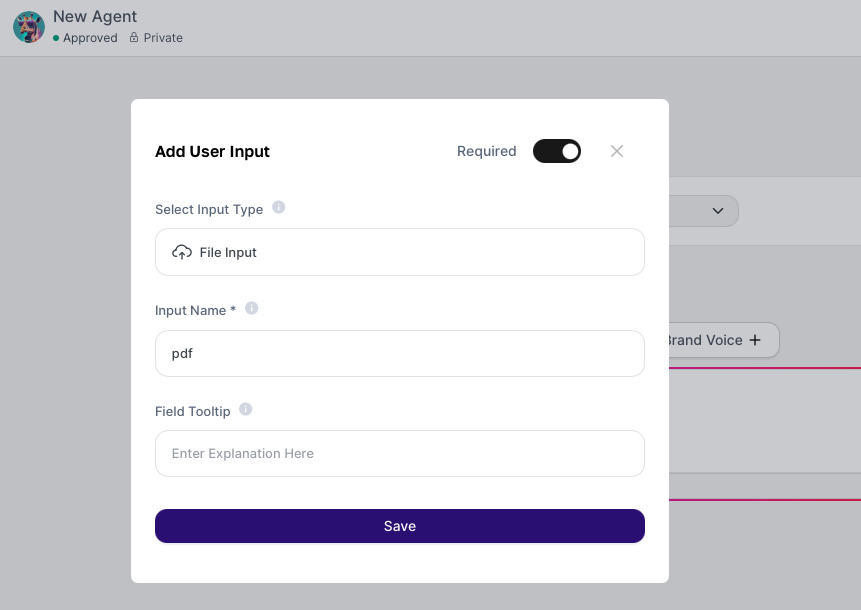
Create the input field with the option ‘Upload a file’ and let's name it pdf
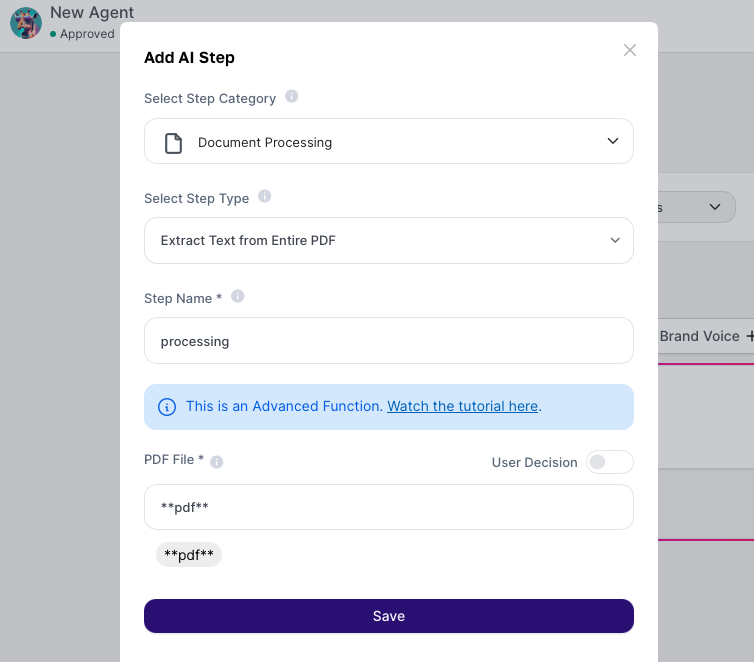
In the AI Steps option, add the step ‘Extract Text from Entire PDF’ available under the “Document Processing” category
In the step, let's call it Processing and insert the file by referencing the pdf entry. It's filled in as the variable of the input field created to attach the file.
Input fields are spaces that will bring versatility to how your agent can be used. In other words, they are the information or goals a user can provide before running your agent, and they'll affect the final result.
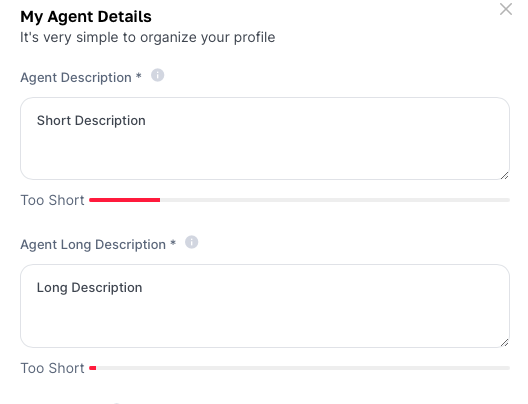
So that your users know what to fill in, we suggest being super clear and direct when naming the input field, its description, and input tips/examples.
The example below shows a good case of this recommendation:
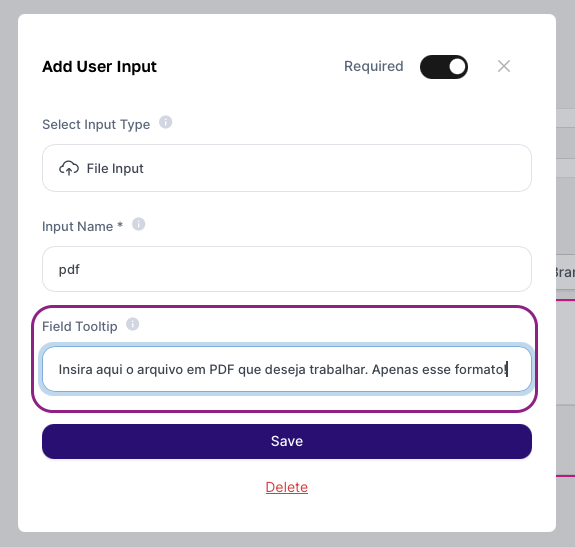
Notice that the purpose of the field is named, there's an explanation in the description, and a helpful example in the tooltip. This will help more people understand your agent and know how to use it better!
Also, it's not a good idea to create input fields that define the model, creativity, or tools. For this kind of setting, there's an option available at the bottom of the page (see screenshot below). If you enable this for users, they'll also be able to set the creativity level and AI model.
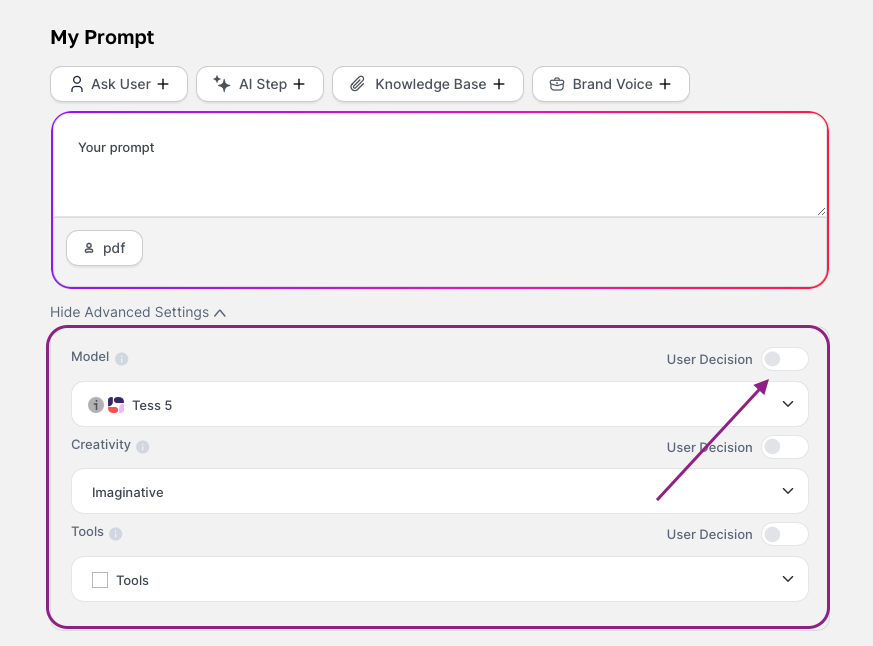
This is an option that gives you a more controlled experience, making sure the final result matches what the agent creator wanted.
There's no set rule for creating prompts, but you need to make sure it's aligned with what the agent is supposed to do. So, it's a good idea to write prompts clearly and to the point, and also try out different versions, either more or less detailed, so you can tweak things as much as you need.

With these best practices, we hope you can create all sorts of agents successfully for your personal and work routines.
If you need more help, just reach out to our support!
