When you create an account on Tess, you can go ahead and set up your profile, or, if you’re a company, the Workspace so your team can join you.
It’s a super easy process, let’s customize it together!
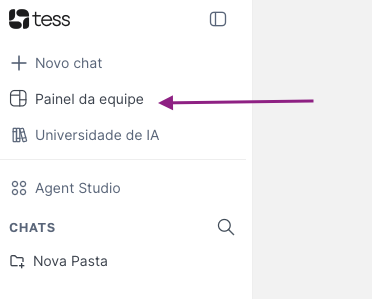
Step 1) Go to your team’s dashboard
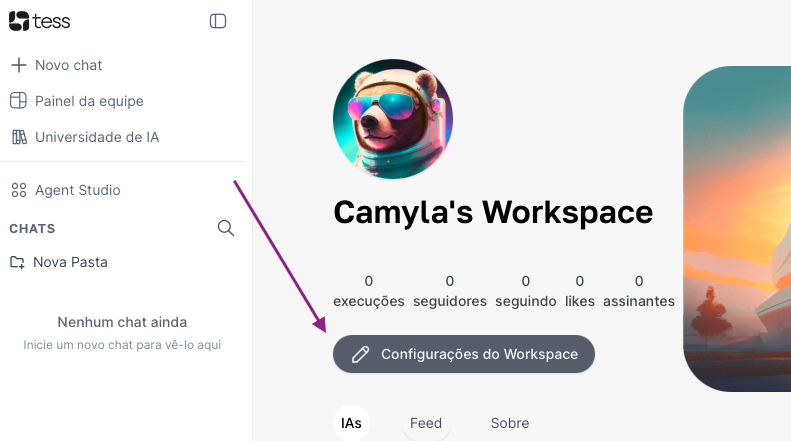
Step 2) Click on the “Workspace Settings” option
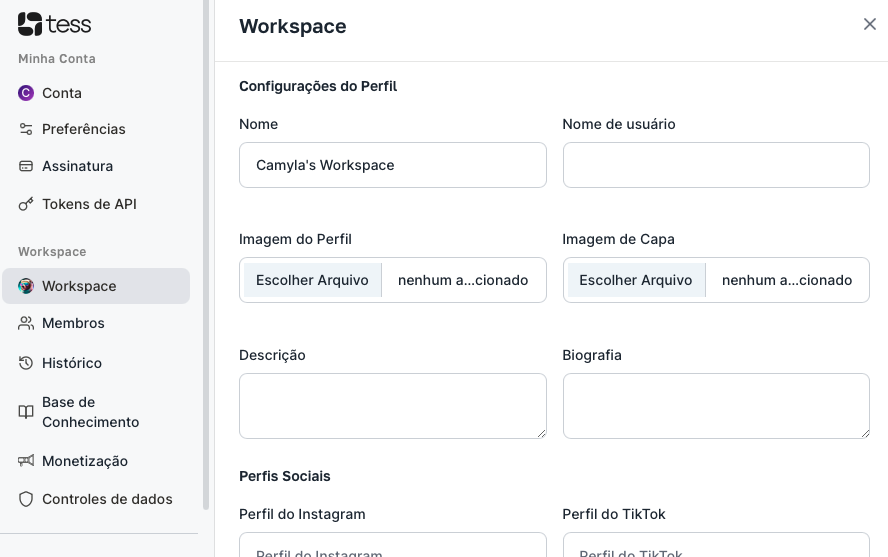
This will pop up a modal with all the available settings for your workspace:
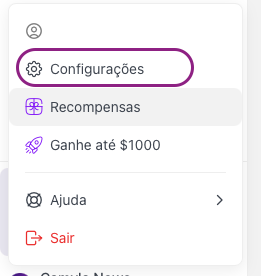
You can also get to this screen through your profile settings:
Step 3) Fill in all the main Profile settings
The fields mean:
Name: The profile name or your Workspace's name (It could be your company name, for example)
Username: User's name
Profile Picture: Your photo or company logo
Description: Catchy phrase that shows up right in your workspace header
Cover: Image that goes in your profile header
Bio (optional): Info and details you'd like to have available in the About tab of your Workspace
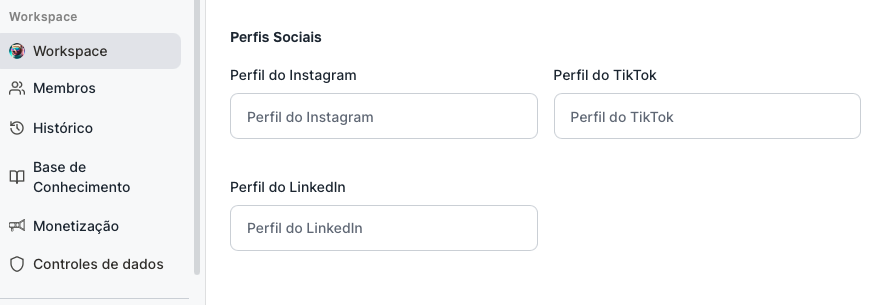
Step 4) Share your personal or your company's social media profiles
These fields are optional, but they're available in the Workspace and if you click them, anyone will be redirected to the linked profile.
Step 5) When you're done, save the changes!
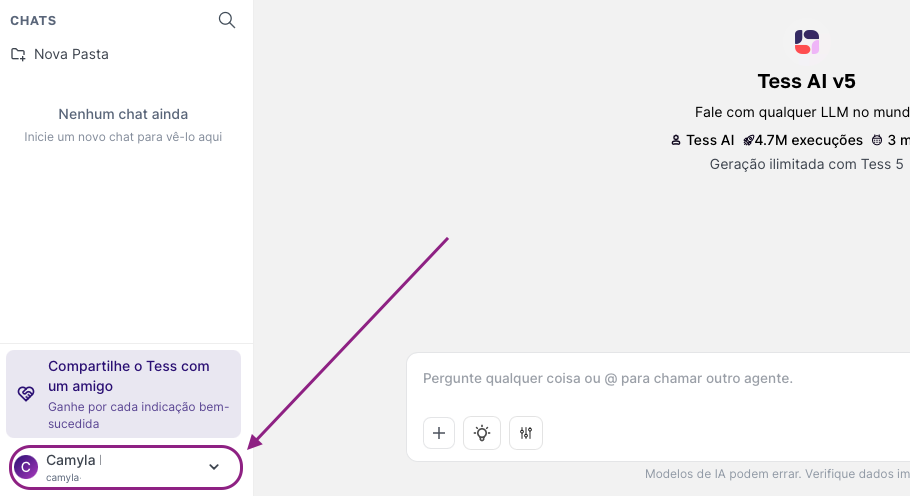
Now your Workspace profile is looking great and people can find you, follow, and subscribe!
Remember, if you want to make any new changes, just repeat the process and update whatever you need, like a photo, cover, or anything else.
