Is your Workspace already set up? If so, it's time to invite new members!
But if you haven't set it up yet, you can check out this article here.
Remember
The Business plan is the one that lets us invite other people to join your Workspace. If you need help with the plan upgrade, this article here can help you out!
Let's start inviting members to your Workspace! To do this, go to the settings screen (the same place where you set up your Workspace info) and then to "Members" .
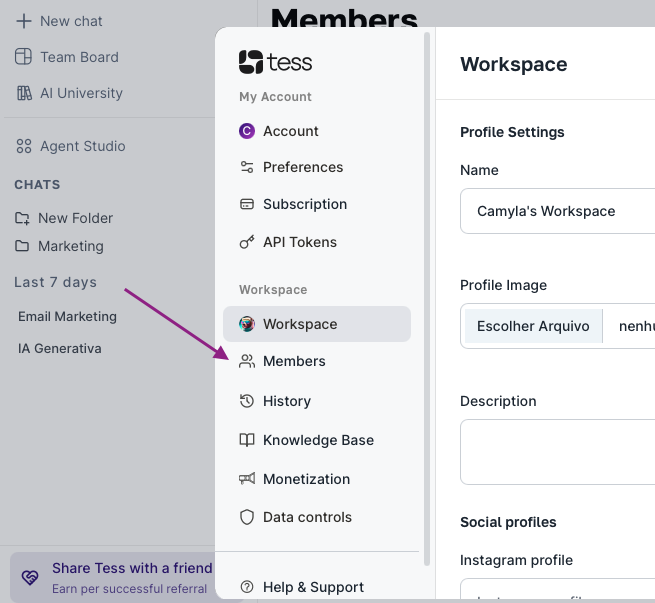
Now, on the Members screen you’ll see both invitation options available: by Secret Link and by Email.
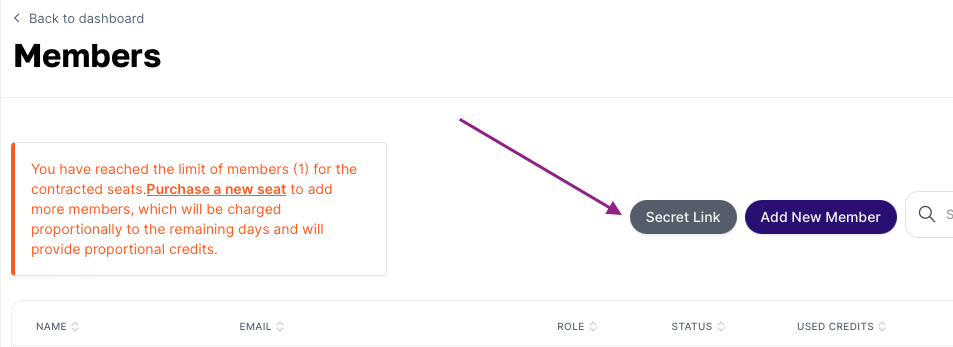
1) Invite via Secret Link
It's the easiest and fastest way, and lets more people join the Workspace using the same link.
Just click the secret link icon, turn it on, and send it to your team!
To generate new links, just click the option below: Generate a new link and it'll become the new valid one.
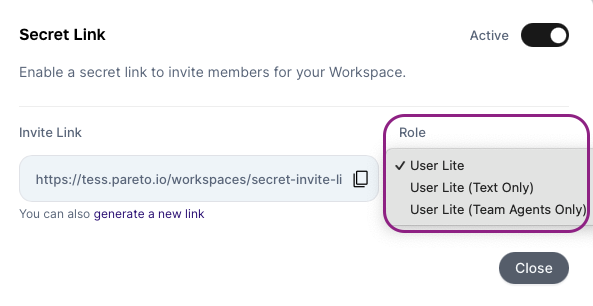
Before you generate the link, just pick the access level you want to grant:
User Lite: Free user with access to all copilots.
User Lite (Text Only): Free user with access only to the text AIs.
User Lite (Team Agents Only): Free user with access only to the workspace team board with agents that have public or workspace visibility.
Learn more about Tess user roles and types in this article: link.
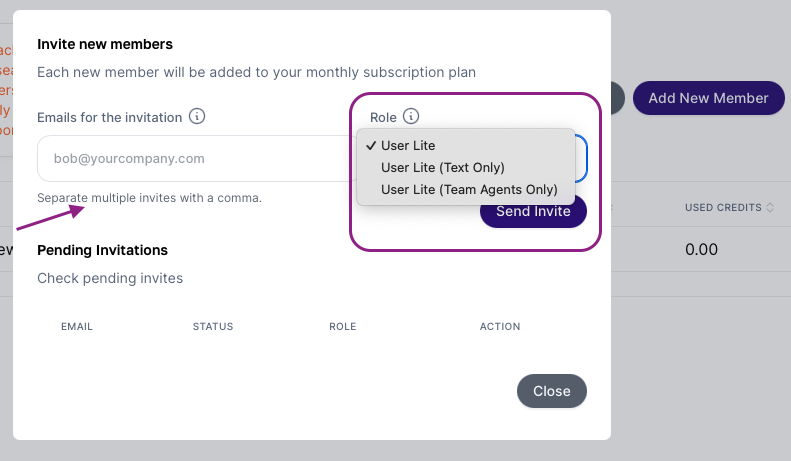
2) Invite via Email
When adding a member via email, you can send to one or more people (separate emails with commas).
IMPORTANT
The email invite is valid for 3 days (72h) after being sent. If it expires, you'll need to revoke it and send again.
Now that you already know how to invite new members, you can use this same screen to keep track of each user's credit usage!
If you need anything, you can reach our team via human support at the email: suporte@tessai.io.
